Guest post by Leon Pantenburg
Quick, easy recipes to make tasty foods from storage foods should be part of your survival gear. During an emergency you might end up with a few basic food staples, a campfire and people to feed.
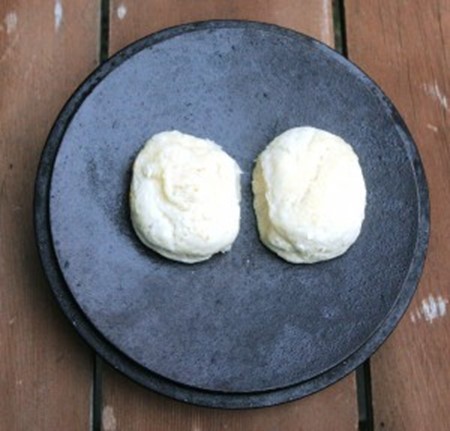
The school crowd only left me two biscuits for the photo shoot! This recipe is a favorite with kids for breakfast.
Biscuits are comfort food for many of us with Southern backgrounds. Though I was born and reared in Iowa, I lived in Mississippi for years. The southern tradition of biscuits and gravy for breakfast is one I embrace wholeheartedly.
A survival mom can use this recipe to help rotate storage food. At deer camp, produce a wild game stew with hot biscuits for supper, and you’ll see weary hunters perk up. A pan of biscuits goes well with many meals at home. And the smell of biscuits baking the morning has roused many a sleepy teenager out of bed on school mornings.
For a biscuit recipe to be included in your prepper or survivalist gear, it needs to be easy to make, use simple ingredients and tasty.
Here’s the recipe I use frequently.
It comes from the “Southern Sideboards” cookbook, and is an incredibly simple, easy recipe. Master this dish, and the variations will be endless!
Everyday Biscuits
1 c flour
1/4 tsp salt
2 tsp baking powder
1/4 c Crisco shortening (or bear grease or coconut oil)
1/2 c milk (or buttermilk)
Mix flour, salt and baking powder. Cut in shortening until mixture resembles corn meal. Stir in milk. Let stand about one minute. Knead a few times on a floured board. Roll out and cut with a biscuit cutter. Place on greased baking sheet (I use a skillet or small Dutch oven, being a hardcore cast iron junkie!) and bake at 400 degrees until light brown. Baking time will vary depending on size and thickness of biscuits. (I bake mine for 17 minutes, until the edges just started to brown.)
If you want to make this recipe even easier, premix all the dry ingredients, including the Crisco. Put them in a Ziploc plastic bag, and write on the front “Add 1/2 c. milk”. Then, all you have to do is add the moisture and knead the dough in the bag. (Hmmm…this is starting to sound like a good-tasting MRE…)
If fresh milk might be a problem, add 2 to 4 tablespoons of dried milk to the dry ingredients. Then add 1/2 cup of water when you are making the dough.
Survival campfire cooking doesn’t have to be hard – but it should taste good!
Start now to make sure you are staying prepared.
Via: survivalcommonsense


 Follow
Leave a Reply