Post by Angela Paskett at foodstorageandsurvival.com
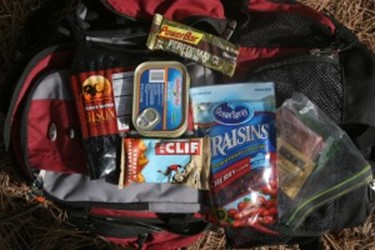
Long-lasting trail foods are critical parts of emergency survival gear
Have you ever wanted to make your own survival food bars? Like the survival food bars the stores sell, but homemade survival bars so you know what’s in them.
Apparently there are a couple of different recipes out there for these survival bars, so maybe try them all.
——————
With approximately 2000 calories total, low cost, and long shelf life, these are a fantastic addition to your vehicle emergency kit or 72 hour kit. But there were some problems. Holy cow, they were hard to mix. Then they overcooked a bit and stuck to the pan. And finally, how in the world are you supposed to eat that brick? There were lots of suggestions in the comments to alleviate some of these problems, so I did some testing and today I’m sharing the results so you can make your own homemade survival bars even better!
Ingredients:
2 cups oats (regular or quick)
2 1/2 cups powdered milk
1 cup sugar
3 TB honey
1 3 oz package jello (orange or lemon–these bars already have a high sugar content, and a sweeter jello just makes them more sweet)
3 TB water
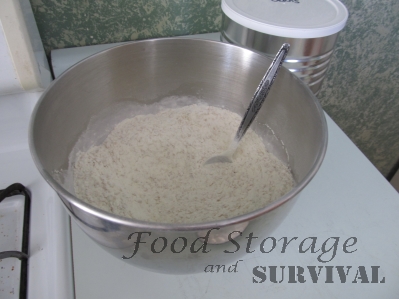
Mix the oats, powdered milk, and sugar together in a bowl.
In a medium pan mix water, jello and honey. Bring to a rolling boil. This is just the 3 TB water called for in the recipe, not the cup of water you’d usually use when making jello. A rolling boil is when the mixture doesn’t stop boiling when you stir it.

Using last year’s crystallized honey.
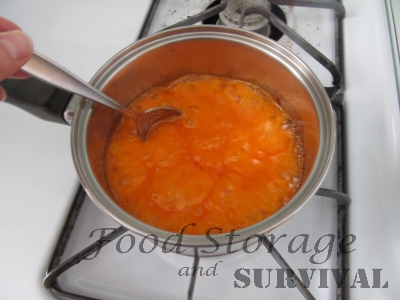
Full rolling boil
Add jello mixture to dry ingredients. Mix well. Mixing by hand, you’ll probably end up just working the ingredients together with your hands rather than trying to mix with a spoon. OR use a quality mixer and it’s done in a jiffy! My Kitchenaid had no problem mixing this dough.
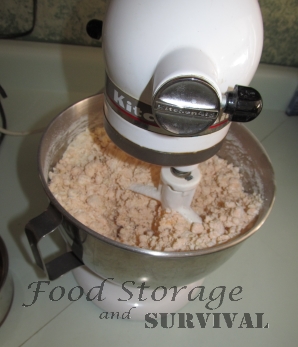
SO MUCH EASIER than mixing by hand! Thanks, KitchenAid. 🙂
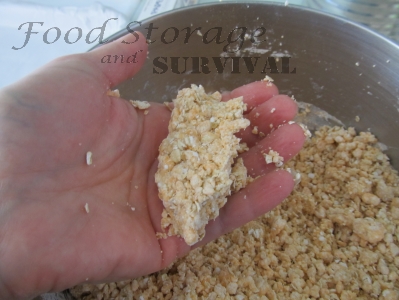
If the dough is too dry, add a small amount of water a teaspoon at a time. In my tests I added about 5 extra TEASPOONS of water total to the dough and I live in super dry desert area, so you may not need that much. Your dough should be crumbly, but stick together when pressed.
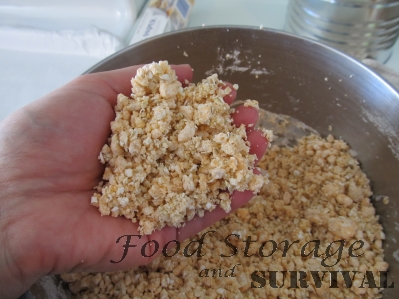
Crumbly dough
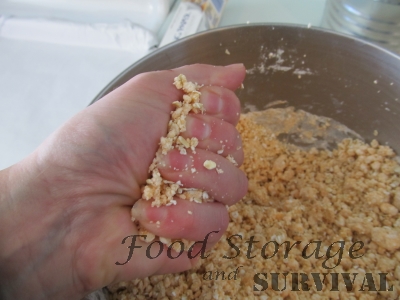
Smash it together to test if it’s moist enough
As soon as it will stick together it’s done. Don’t add any more water.
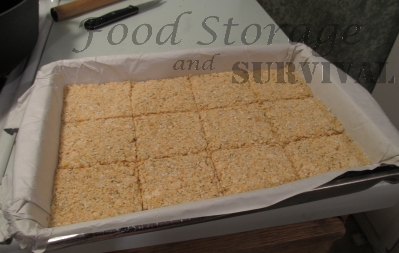
Press the dough into a 9″ x 13″ parchment lined pan.
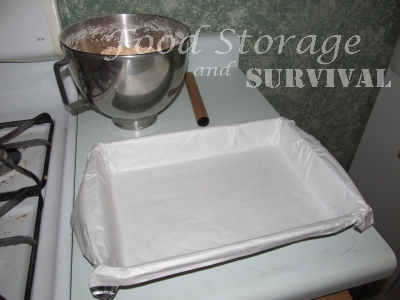
Line the pan with parchment.
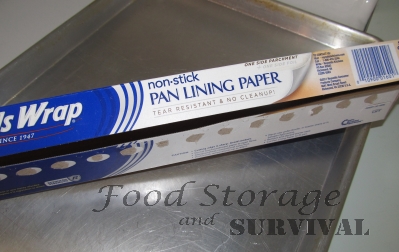
This is the pan liner I used. It has foil on the back side of the parchment. Regular parchment would work as well.
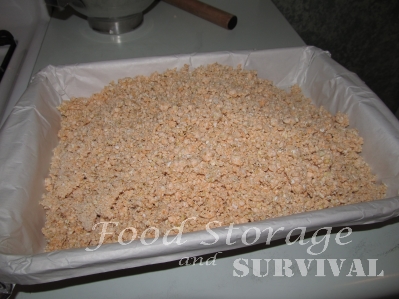
Pour the crumbly dough in the lined pan.

Press in firmly.
After I had pressed the dough in by hand, I used a tortilla roller (mine is just a piece of 1″ dowel) to even it out and press it in more firmly.
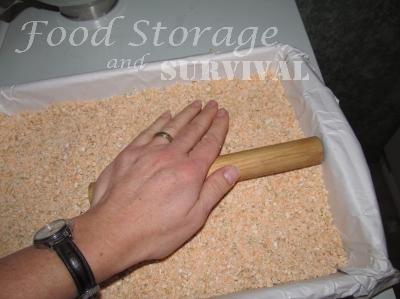
Rolling it with a tortilla roller makes it stick better and be nice and flat all the way to the edges.
Instead of using your tortilla roller, you can place a sheet of parchment on top of the dough and compress it with another 13 x 9 pan pressed down firmly on top of the dough.
Originally we made brick shaped loaves, but a brick shape is not very conducive to eating, and this stuff baked up so hard it could not be sliced, just broken into pieces. I also tried pressing the dough into a sheet cake pan, but the bars turned out too thin and crumbled after baking. Pressing into a 9″ x 13″ pan was magic.
Here are the bars I tried making in a sheet cake pan. Just didn’t work well.
Bars in a sheet cake pan were too thin and crumbly.
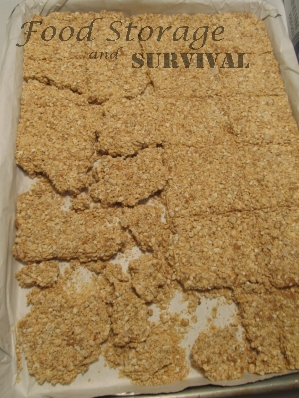
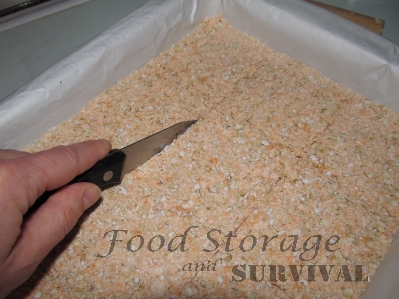
Cut the dough into bars. Use a knife or a pizza cutter, but you’ll want to cut all the way through. Parts that were just scored and not cut through crumbled when I broke them apart.
Now you can bake it or dehydrate it.
To bake the bars, place the pan in a 200 degree oven and bake for 1 1/2 to 2 hours. When the bars are done baking, remove them from the pan by lifting the parchment paper and allow to cool. Separate the pieces.
Baked bars
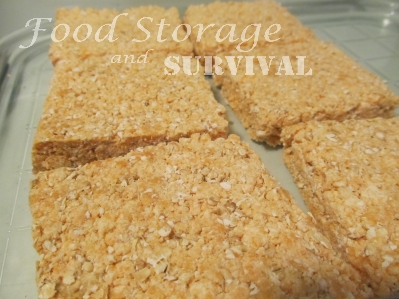
Baked bars finished
To dehydrate the bars, carefully pull the bars out of the pan using the parchment paper, separate, and place on dehydrator trays. Dehydrate at 145 degrees for 4-6 hours until thoroughly dry.
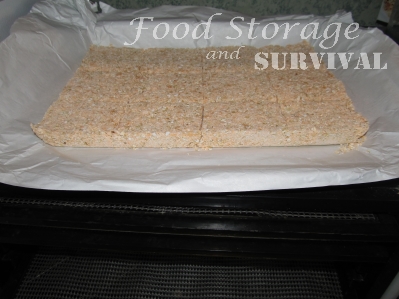
Pulled out of the pan and ready to get put in the dehydrator
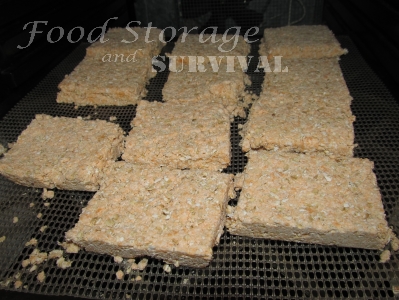
Dehydrated bars finished. These crumbled more than the baked bars.
The heat does help these stick together better, so baking gives a nicer result than dehydrating.
Pack them up. When they are thoroughly dry and completely cool, pack them into a zip seal bag, FoodSaver bag, Mylar bag, or wrap in foil.
For long term packing, I’d seal them in Mylar with an oxygen absorber. They may be hard enough to poke holes in a regular vacuum sealer bag, but Mylar 5 mil or thicker should hold them fine.
These bars have a very long shelf life. Based on the original ingredients, I’d give them at least 20 years properly dried and packaged. The short story on the bars we made almost five years ago is that they are still with us.
Approximately 2000 calories per batch, (around 225 per small bar) easy to make, and now easier to eat, these bars are perfect for your emergency kits!
Start now to make sure you are staying prepared.


 Follow
Leave a Reply