I’m a big fan of yogurt, especially the thicker kind like Greek yogurt. I love yogurt and if you’re like me then you probably would like to have it around after the SHTF or TEOTWAWKI. If that’s the case, it’s definitely a good idea to learn how to make it NOW…especially from your long-term food stores.
As part of your long-term stores, I HIGHLY recommend having powdered milk. Besides obviously reconstituting it to have milk, there are quite a variety of things you can make from it like different cheeses, “sour creams”, and yes, even yogurt.
Having Yogurt Post SHTF
The key with making yogurt from your food storage is to have a starting yogurt culture available. This can be easily acquired by purchasing yogurt from the store.
Once you make your own yogurt from the instructions below, you can continue to make yogurt by saving a little off from the previous batch, continuing this process for as long as you’d like to have yogurt.
Making yogurt from powdered milk is actually a simple process:
How to Make Yogurt from Powdered Milk
What You Need
- Powdered milk (I’m using the stuff from the cannery (non-instant)).
- Yogurt (w/ active cultures)
- Cooking thermometer
- Mason jar (or similar)
-
“Yogurt Incubator” – This can be many things. Basically you want something that will maintain a steady temp of around 100°F – 150°F for 3-4 hours. In my example I use an Excalibur dehydrator but you can also use a crockpot, a slow cooker or even a large pot filled with water on a very low heat (this must be monitored).
Your yogurt mixture can be placed in a jar which is then placed in the warm environment (like with the example shown here or immersing the jar in water that is kept at a warm temp) or you can place the mixture directly in the cooker (like in a crockpot or slow cooker).
Making Yogurt – Step-by-Step
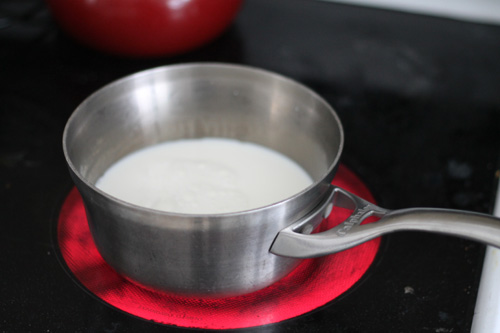
| Step 1: Reconstitute powdered milk. In a pot, add 2 cups of water to 1 cup of powdered milk and stir until mixed thoroughly (this is stronger than how you would normally reconstitute the milk).
|
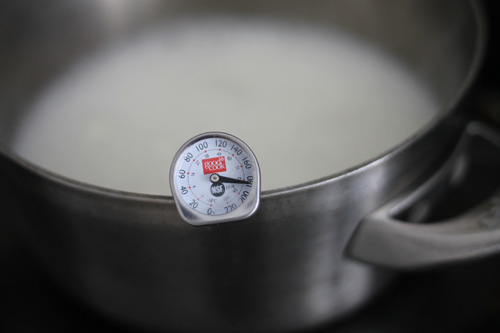
| Step 2: Heat milk. Using a thermometer for accuracy, heat milk to 180°F.
|
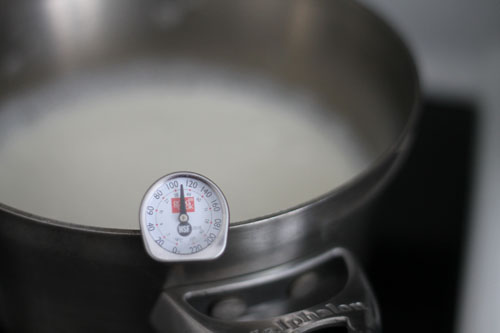
| Step 3: Remove milk from heat. After reaching 180°F remove the milk from the heat source and let it stand until it reaches a temp of 110°F.
|
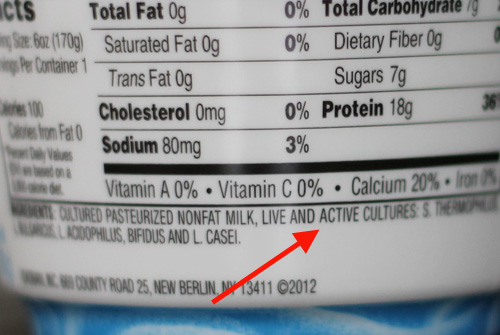
| Step 4: Mix in yogurt. Using store-bought yogurt w/ active cultures (or from a previously made batch) thoroughly mix in two tablespoons into the warm milk and pour mixture into your jar. Here’s what you want to see when reading the labels on your store-bought yogurt:
|
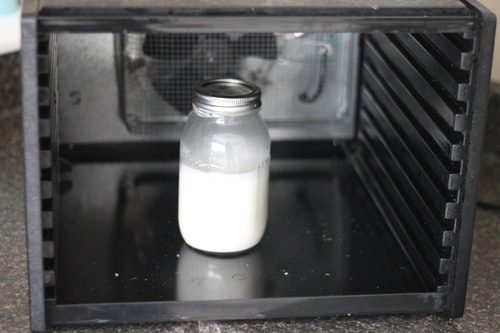
| Step 5: Place yogurt mixture in warm environment. Using your incubator of choice, place your yogurt mixture in it and try to maintain a temp of around 100°F – 150°F. I place my jar in an Excalibur food dehydrator with the trays removed at a setting of 115°F. Yes I do close the door (not shown in this pic)
|
| Step 6: Remove yogurt from incubator. After around 3 to 4 hours, check on your yogurt to ensure it has coagulated (just look, don’t stir or disturb!). At this point there may be a small amount of whey separation on top (hard to see in this picture). If so just pour that little bit off and enjoy your yogurt while warm or refrigerate for normal cold yogurt.
|
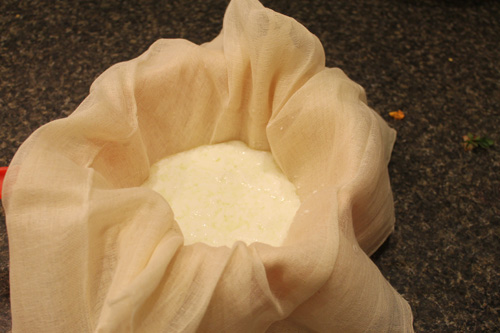
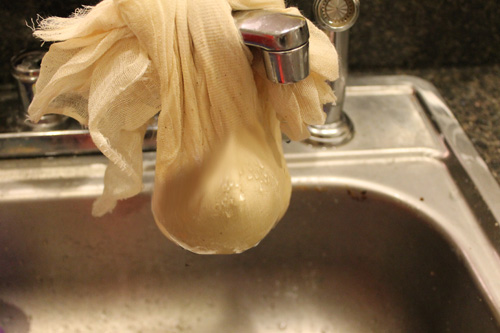
| (optional) Step 7: Make Greek-style yogurt. To make a thicker yogurt like Greek-style yogurt, just pour your yogurt in a cheesecloth, coffee filter, or even a cotton t-shirt and hang it over the sink for a couple hours (until the thickness reaches your liking).
|
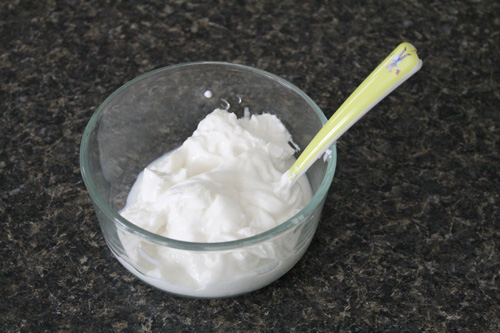
| Step 8: Flavor (if desired) and enjoy!. If you’ve made Greek yogurt, keep in mind you’ll lose about half the volume of the original batch (my two-cup recipe in this example made around 1 cup of Greek yogurt).
|

Troubleshooting Failed Yogurt
If after 4 hours you still don’t have any coagulation, then it’s likely your yogurt has failed. Here are some possible reasons for failure:
- Your starting yogurt culture was dead before you used it. Be sure to purchase or use fresh yogurt with active cultures.
- You killed the yogurt culture. You possibly added the yogurt to too hot milk (didn’t wait until it reached 115°F before adding) or you killed it in your incubator. In either case, ensure the temp of the culture never reaches much over 150°F.
- You disturbed the yogurt while it was “incubating”. Do not mix, stir or otherwise heavily disturb the developing yogurt. It’s ok to visually check it or move it VERY SLIGHTLY to ensure it has set.
- Yogurt was in the incubator too long. If the yogurt has separated quite a bit and is bubbly, you likely kept it in the incubator too long.
Other tips:
I like to add a tablespoon of gelatin to my home made yogurt. It gives it a nice firm consistency. I’ve made flavored yogurt by adding a package of jello.
I have heard that you could buy yogurt starter powder from a natural food store-they stopped carrying it but it’s still out there -I think it was European.
I purchased a bottle of probiotics (live culture) at the health food store that I’ve been using for the past year. One bottle with 90 capsules for $20. For one quart of the prepared milk, I open one capsule and within the 4 hours my yogurt has set. I found this cheaper than yogurt culture starter and always have an open bottle in the refrigerator in case I don’t keep a starter from my previous batch.
Via: tacticalintelligence


 Follow
Leave a Reply