Parachute cord, which is now universally known as paracord, is a lightweight nylon all-purpose utility cord that is used by military personnel and civilians alike.
Paracord is an ideal material for lots of different types of projects due to its durability and flexibility. The uses of paracord as a tool in a survival setting are countless.
You are likely familiar with the ever popular “survival bracelets” made from paracord, which are meant to be unraveled when needed to lash poles together, to fix broken laces and straps and to secure cargo.
Did you know there are also 100′s of other great paracord projects you can also make? Paracord makes an excellent material for stylish bracelets, lanyards, pouches, watches, belts, dog collars, whips and more.
We picked 36 of our favorites for you to try out. Our selections offer everything from traps to whips to weapons, and even a keychain with a secret hidden compartment that makes a super tiny survival kit.
First thing’s first:
Paracord 101
You have to make sure you know what you’re working with and have the right supplies. If you really want to get into paraweaving, you should check out Paracord 101 before you start on your projects. With that, you should be all set to delve into these 36 paracord projects for preppers.
Here are 36 Paracord Projects for Preppers:
1. Paracord Belt
Keep your paracord close to you with this versatile, functional DIY. Everyone can use a belt and everyone should keep paracord on them! This tutorial shows you how to make a DIY paracord rescue belt, my favorite of all the paracord belts I tried. Paracord bracelets can come in handy but only have 8-12 feet of rope, while a paracord belt can have up to 50 feet or more of rope. 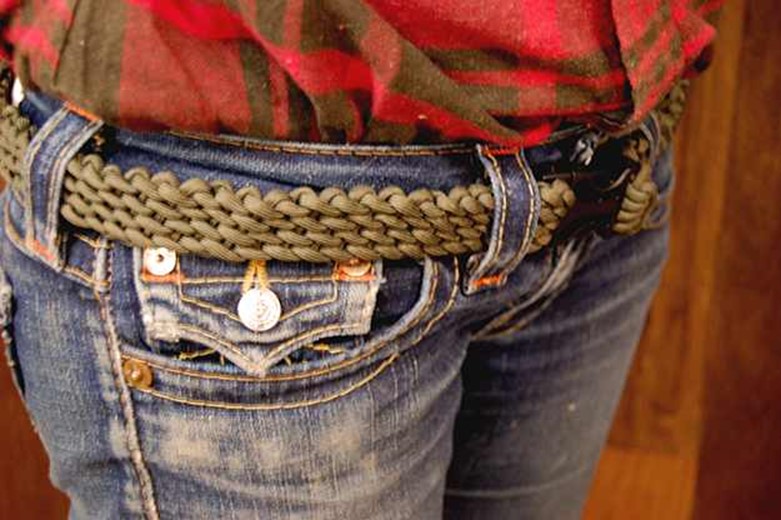
In extreme situations, 50 feet of rope would be a lot more use for you than 8-12 feet. However, this paracord belt gives you at least 50 feet of rope that is quickly accessible, and depending on your waist size, up to 100 ft. This belt is a quick deploy survival rescue belt that uses Slatt’s rescue weave. You can unravel, or deploy, the paracord in a matter of seconds.
Make your own belt with these instructions.
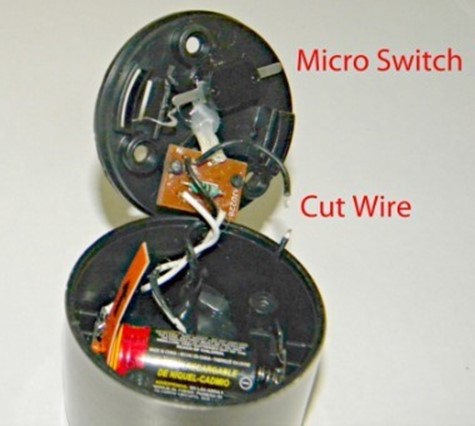
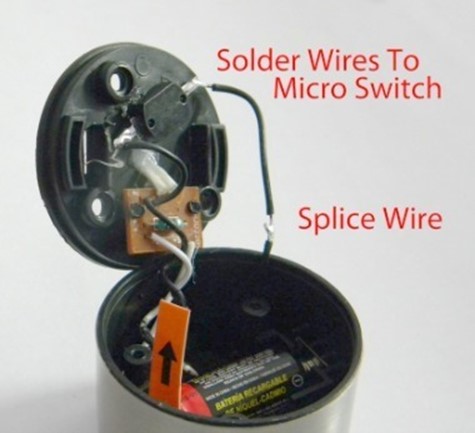
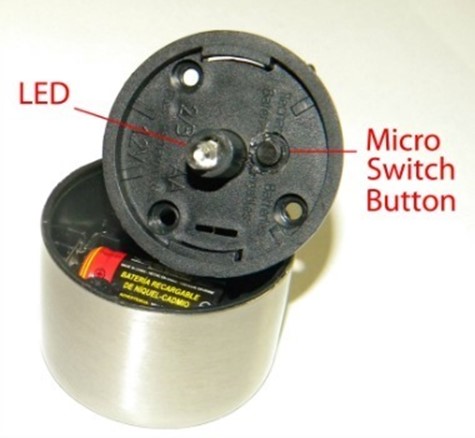
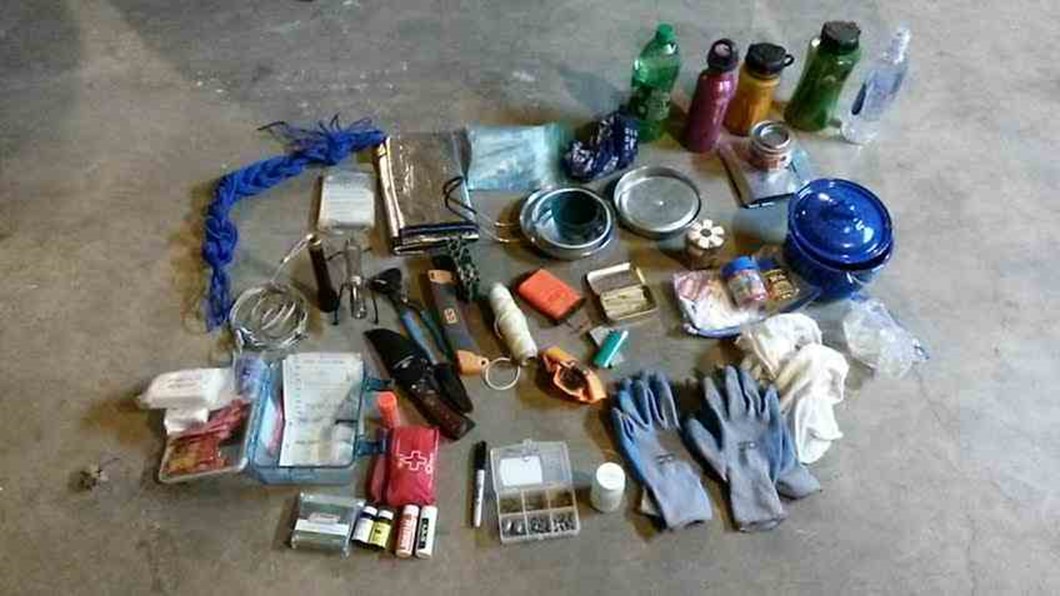
2. Paracord Keychain with Secret Compartment
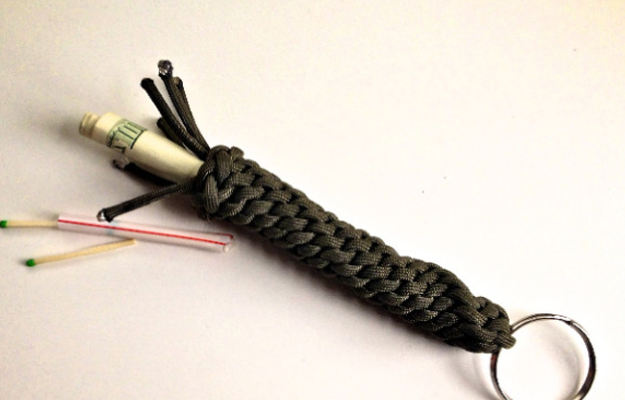
There are a lot of different ways to make these guys, but the one we like the best is this survival kit keychain from DIY Ready. You can store money, matches, any small essential survival items you can think of in this cool keychain with a secret compartment.
Make your own using these instructions.
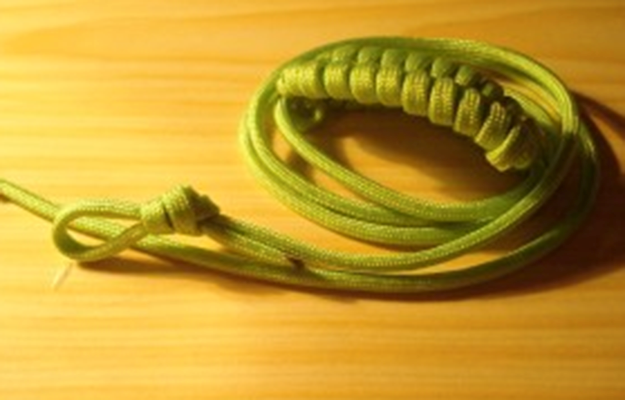
3. Paracord Bullwhip
These instructions will help you make a bullwhip entirely out of paracord. It should not be that hard for those of you who know their way through ropes, knots and braiding. I wouldn’t recommend this as a beginner project though. 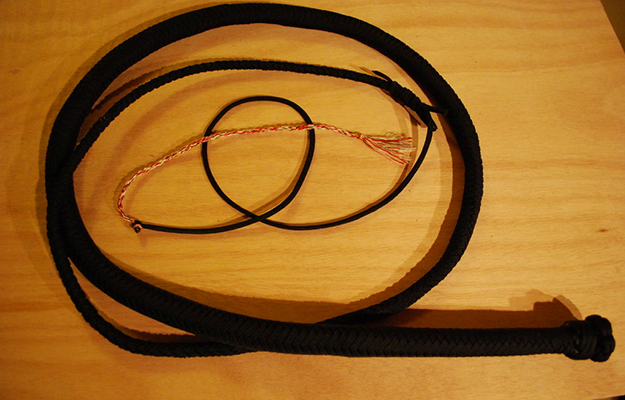
It involves careful and regular braiding of up to 12 strands a bit over 12 feet long, which can be a bit messy or frustrating if you’re not familiar with manipulating such lengths of cord. You will also need to know ( or be willing to learn) some ‘advanced’ knots to make it look nice.
For more information, click here.
4. Paracord Rifle Sling
Another sling to keep your weapons close by without taking up your hands. This is perfect for any hunter or outdoorsman. 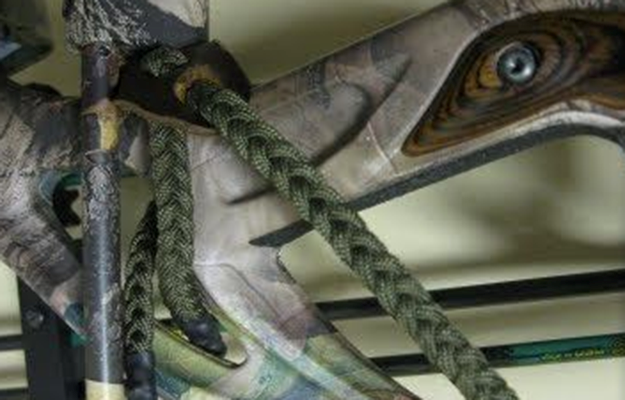
Make your own with these instructions.
5. Paracord Giant Monkey Fist
Why make a regular monkey fist when you can make a giant one! This DIY using a pool ball core will give you the ultimate monkey fist to use for your self defense. A paracord monkey fist is beneficial to carry on you for survival and self defense purposes. It’s super easy to conceal and carries enough power to slow down any attacker.
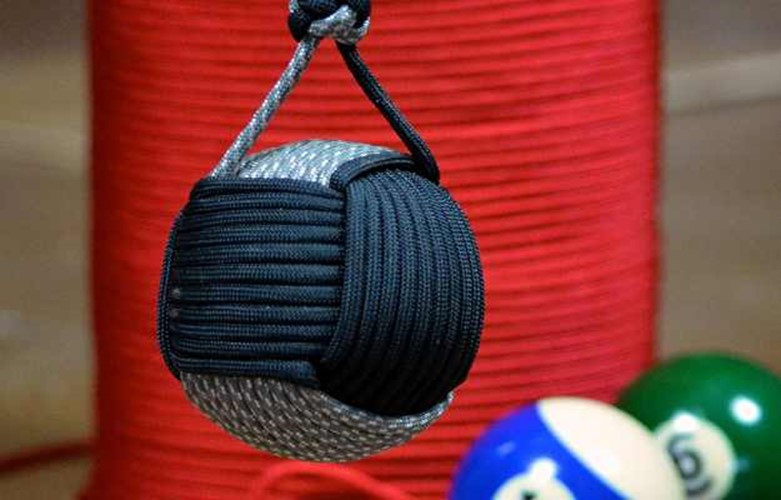
In this tutorial you’ll learn how to make a paracord monkey fist using a pool ball! This giant monkey fist weighs in at a hefty 6 ounces! For the full instructions, click here.
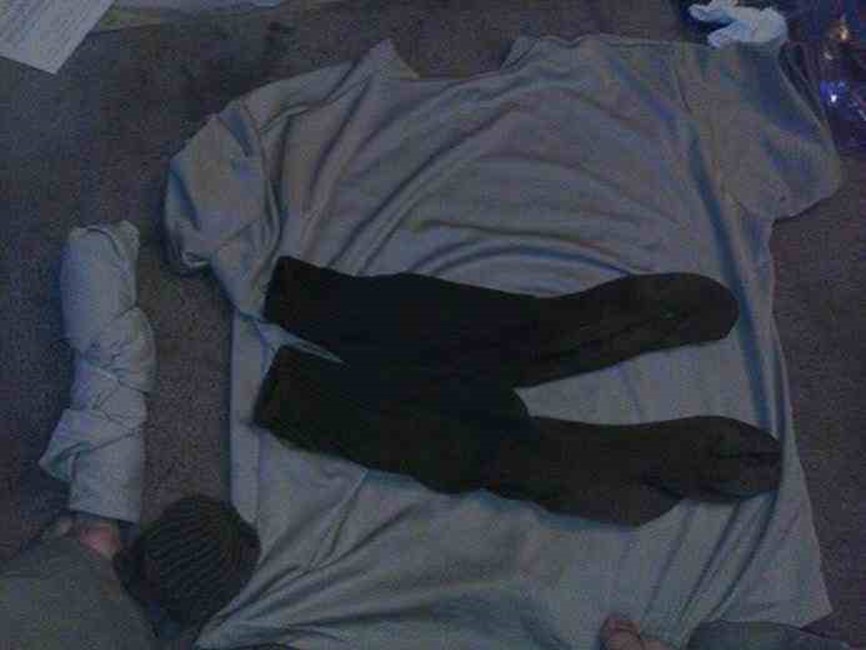
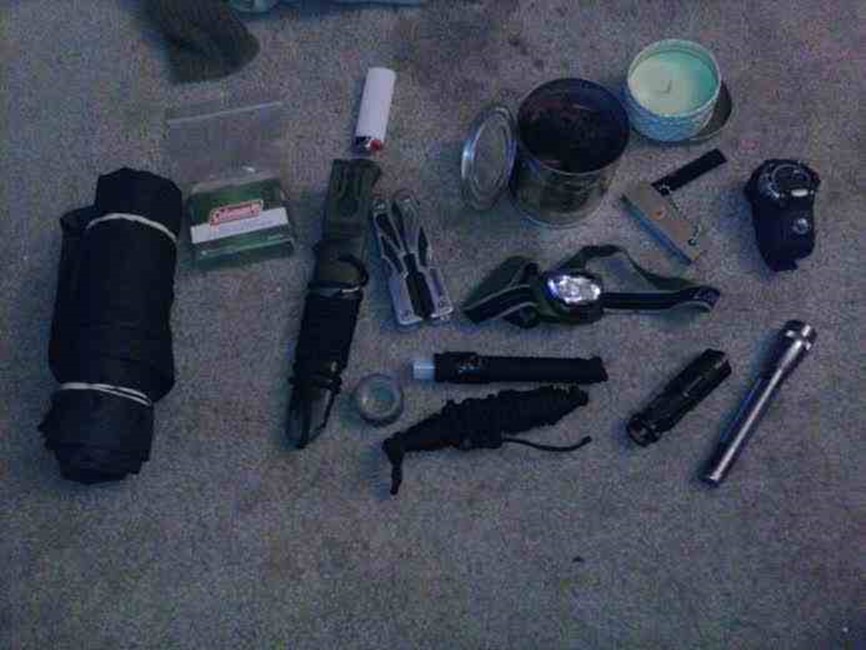
6. Paracord Bundle Compression Strap and Handle
This is a very handy tool. It’s simple, but it will keep your sleeping bag, tarps, and other large items bundled up tight and easy to carry. 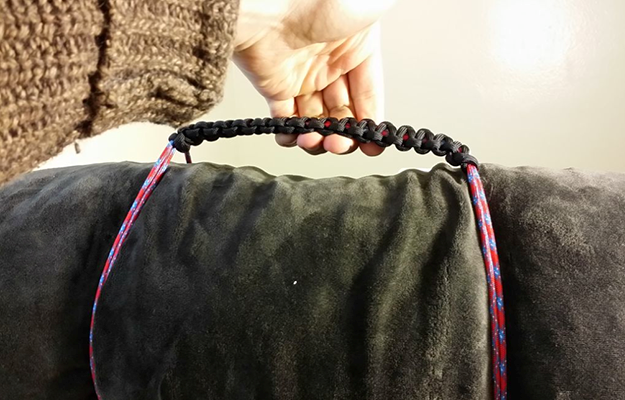
It can get frustrating carrying soft items like blankets or clothes to a camp ground. I designed this super easy to make strap to carry blankets; however, it can also be used to carry other items like bundled wood which makes it incredibly useful!! The Design is super simple and does not require many tools or materials. I used two colors to make this, but you could of course use one if you prefer. I am using this for camping so I made sure to choose darker color paracord to ensure that it will not show how dirty it will get after extended use. For the full instructions, click here.
7. Paracord Snow Shoes
You never know what kind of conditions you’ll have to be prepared for. Check out these instructions to learn how to make your very own paracord snow shoes.
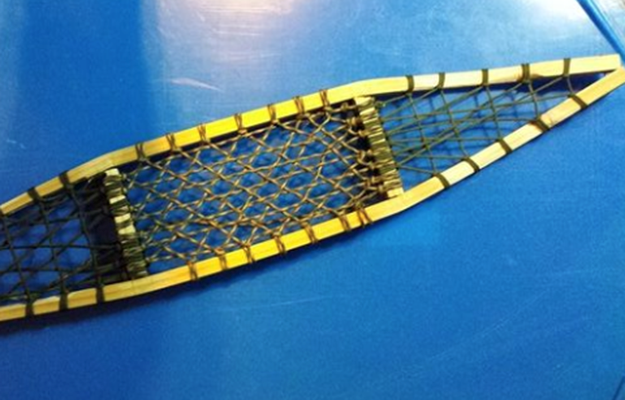
This is a traditional style snow shoe with paracord for the webbing. The intention was to give a modern twist to classic style that almost everyone is familiar with. This tutorial includes a step by step for the frame and also shows you the basic weaving for the net. For the full DIY, click here.
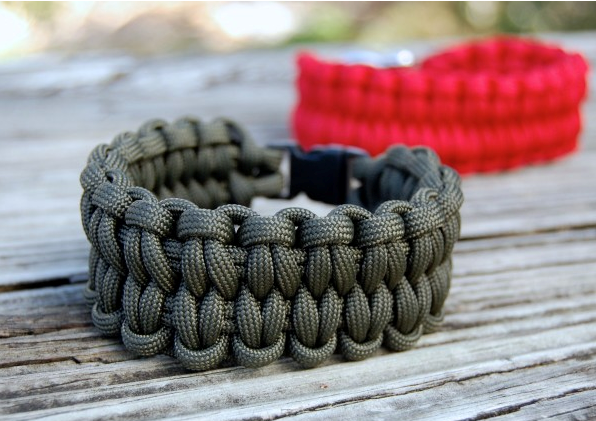
8. Quick Deploy Paracord Bracelet
There are so many ways to make paracord survival bracelets. Here’s our favorite version: The Blaze Bar. The blaze bar paracord survival bracelet unravels in seconds:
For the full DIY, click here.
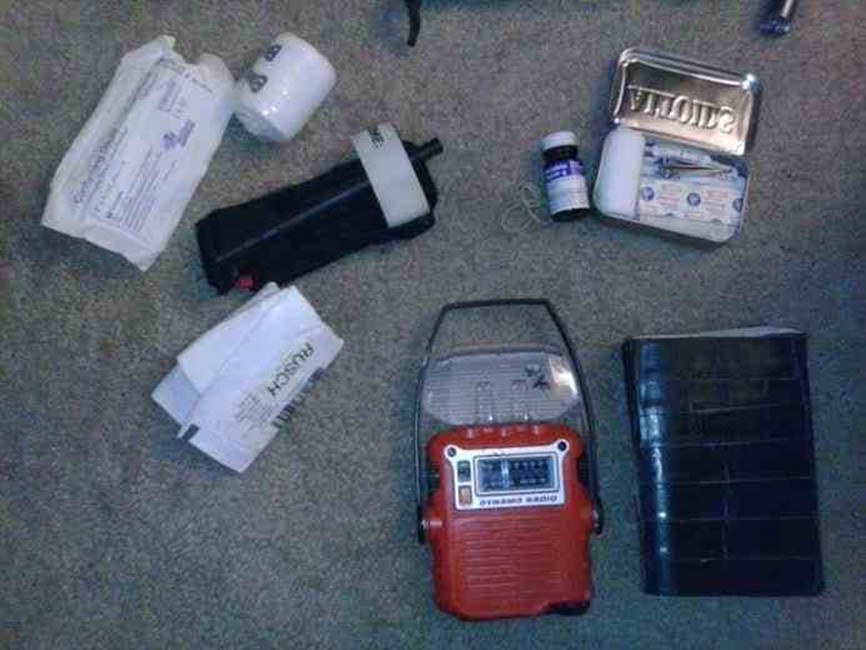
9. Paracord Survival Tin Pouch
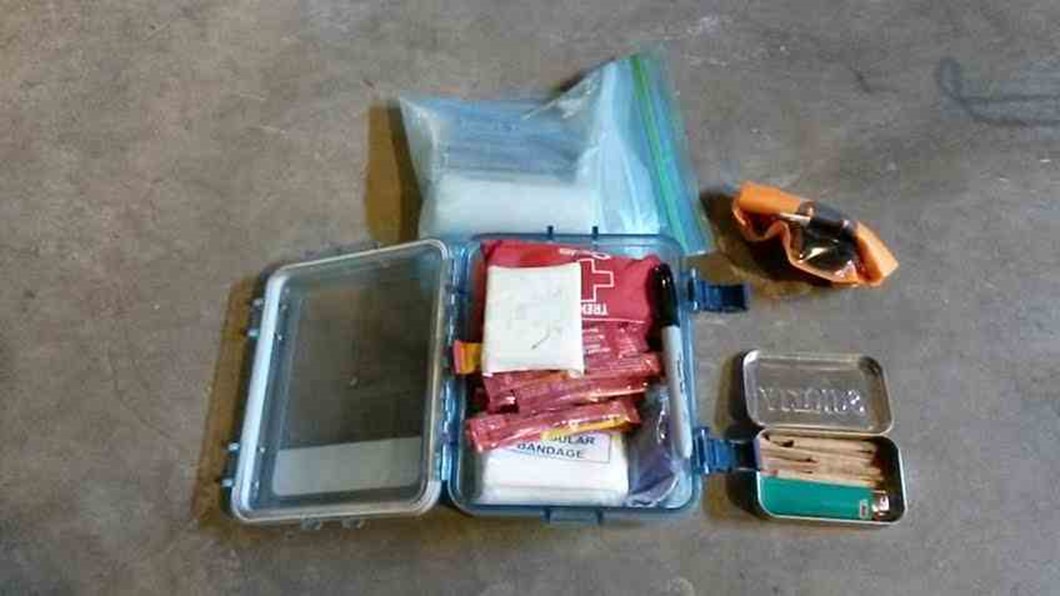
Keep your Altoid Tin Survival Kit in this pouch to keep it protected and yourself prepared! Throughout this Instructable, I will be showing you guys how to make a pouchout of paracord. This particular pouch is made to fit an Altoids tin. 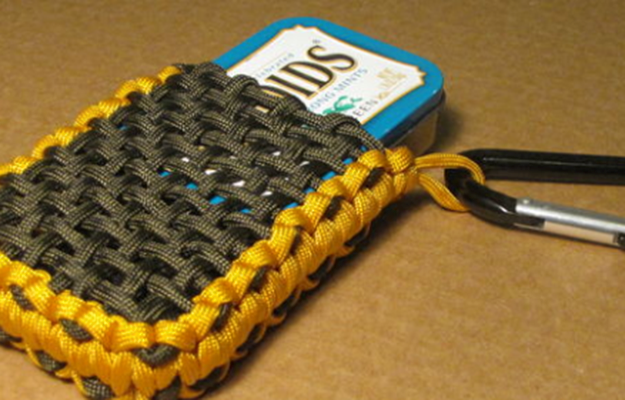
For many outdoorsman or survivalists, Altoid tins are the perfect containers for a small, pocket survival tin. I like using the pouch for my survival tin so I can pack more stuff into the tin and not worry about it popping open. Full instructions
10. Paracord Watchband
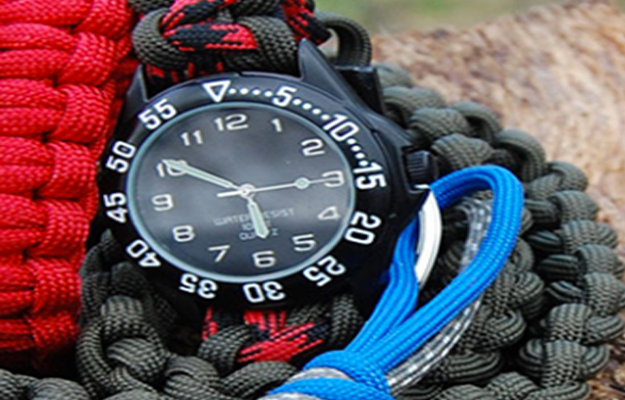
Add some survival to your daily wardrobe by creating watchbands for a pre-existing watch face. Choose different colors to make different looks! This is a super project if you want to make something unique and also functional. You can make either a solid color watchband or one with two colors. You can also follow the same steps in this tutorial to make a bracelet with a side release buckle.
Check out the DIY instructions here.
11. Paracord Hanging Chair
With the addition of some palette boards, you can create a hanging chair out of paracord. Very comfortable, very easy to make chair from a pallet and some paracord.
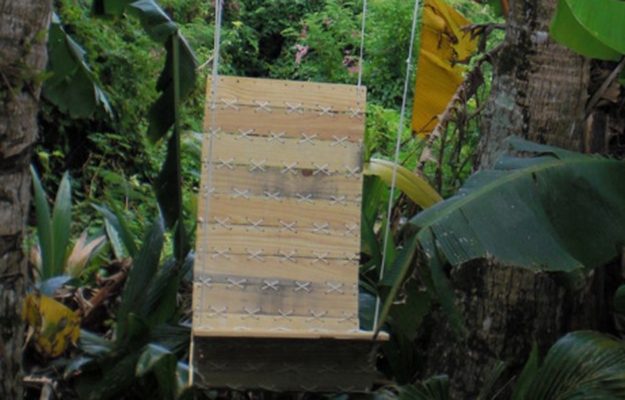
I have never seen a chair like this before. It is so easy to make and it is comfortable because it conforms to your body.
For the instructions, check out this site.
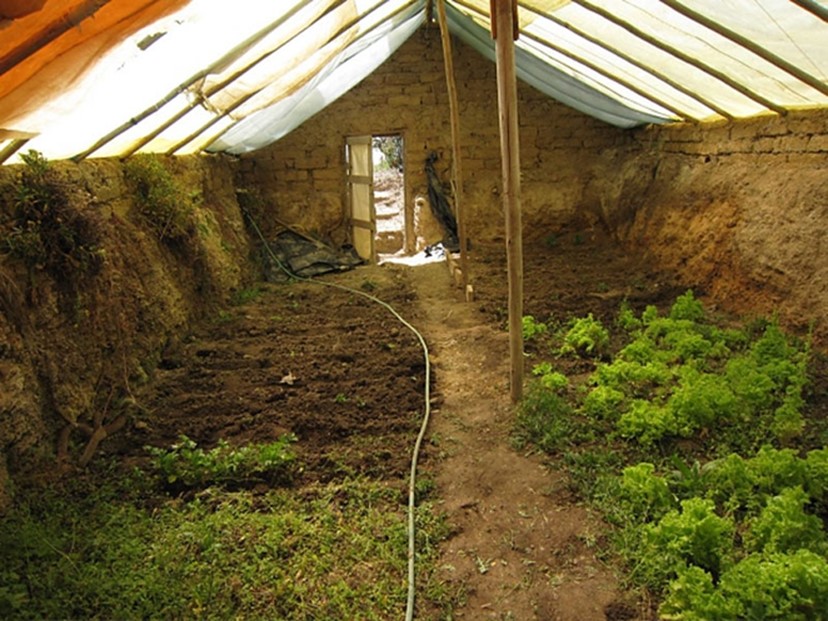
12. Paracord Tent Rigging
With some paracord and know how, you can turn any ordinary tarp into a makeshift shelter. 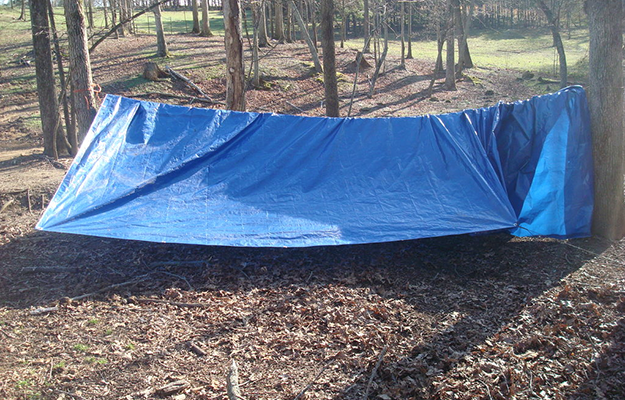
For the full DIY, click here.
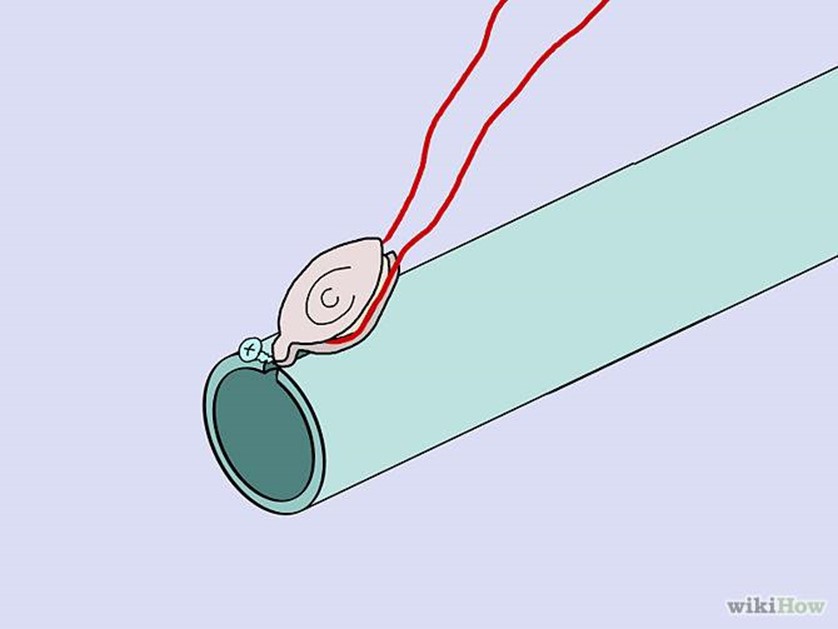
13. Paracord Koozie
Make a can koozie out of paracord to keep your drinks cold and yourself stocked up on paracord. 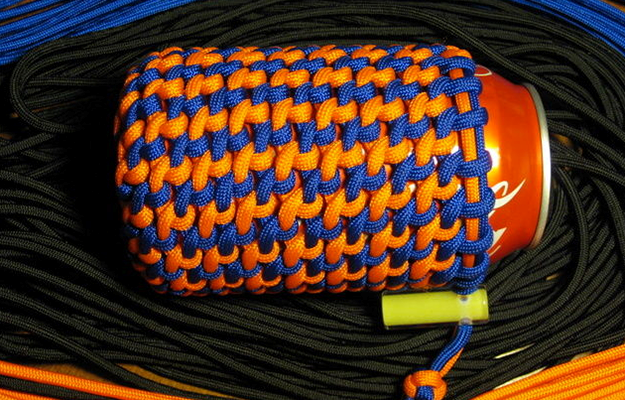
To make your own koozie, check out this DIY.
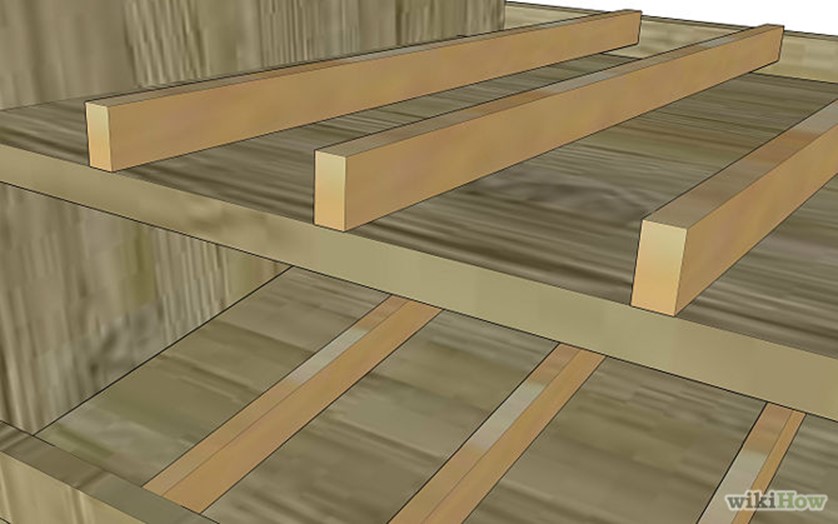
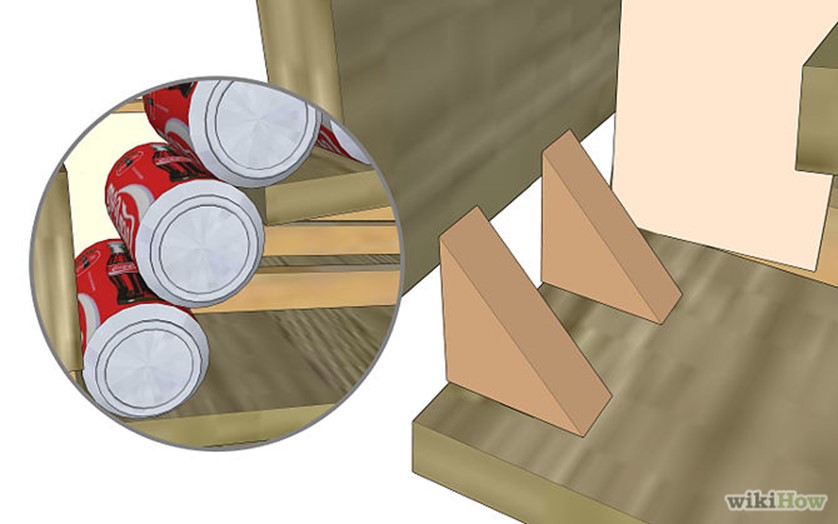
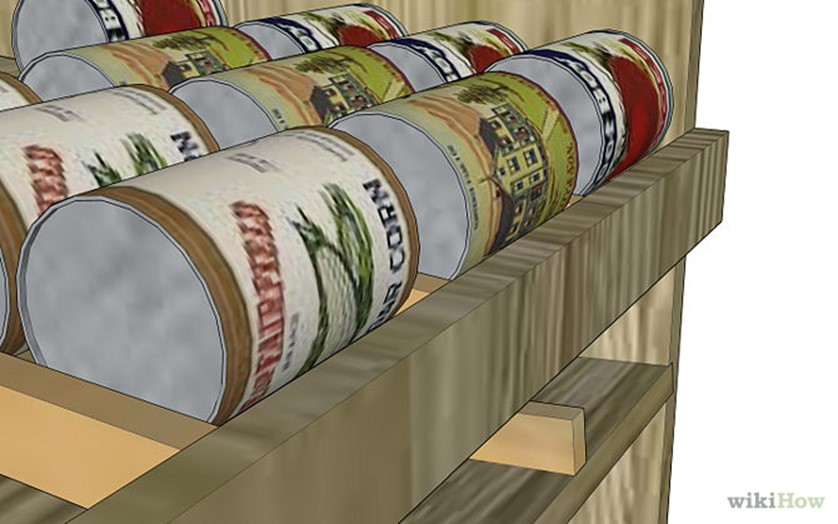
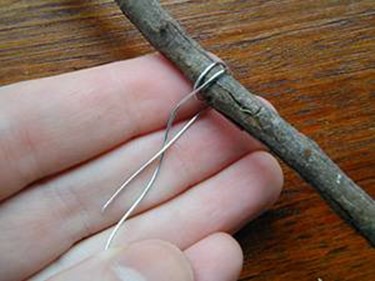
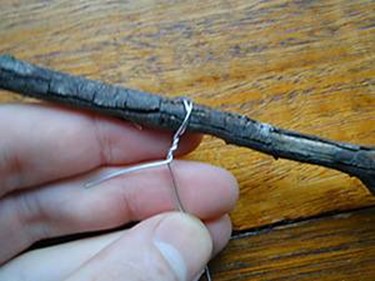
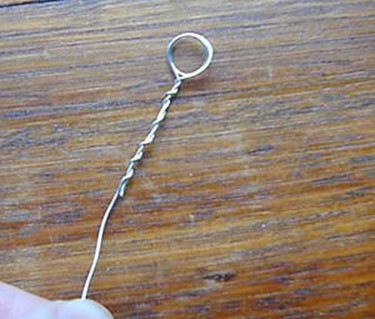
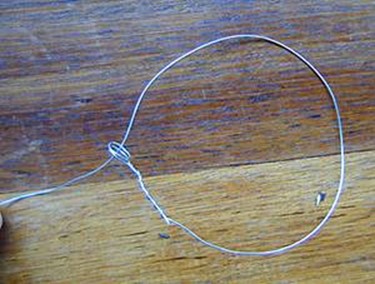
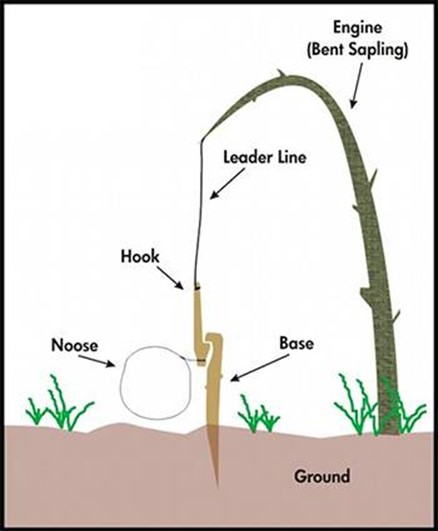
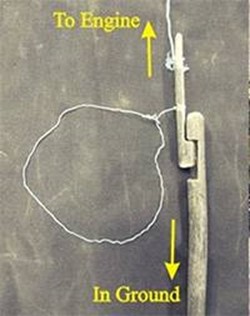
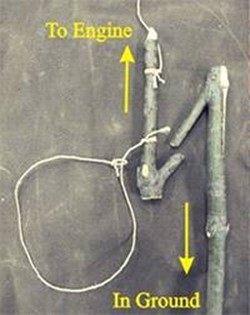
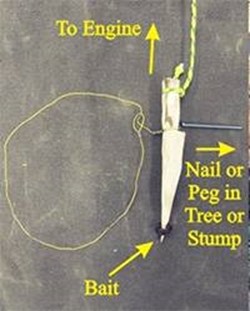
14. Paracord Snare Trap
This easy snare trap will help you catch small game and could be your key to staying fed in a survival situation. These instructions and tutorial will show you how to use paracord and sticks to create a basic snare that will increase your probability of catching something in the wild. 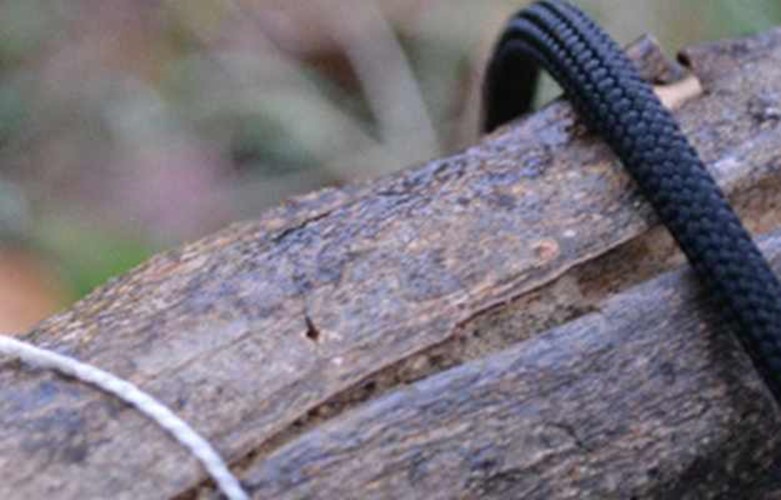
For more, check out the full DIY!
15. Paracord Dog Toys
This super strong material is perfect for chewing on by man’s best friend. These easy to make colorful rope toys are great for any size dog. Just scale up or down the diameter of the rope to fit your dog, 1/4″ for small dogs or 3/8″ for large dogs.
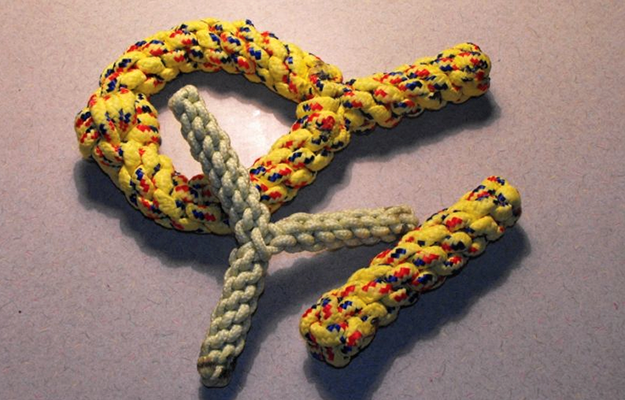
Directions given are for a basic toss/tug toy pictured below. Pictured are several variations based on the basic knot that can be created with a little practice and creativity. For the full instructions, check out the DIY.
16. Paracord Laptop Harnass
Stow your technology in this cool paracord case.
I noticed there wasn’t really a design for a paracord laptop harness/carrier made out of just paracord that didn’t involve simply weaving it, so I decided to remedy this with the paracord contest as a motivator.
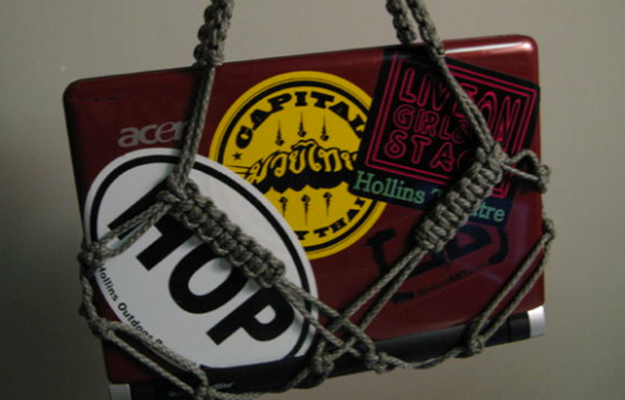
When starting this project, I had several criteria I wanted to hit, and after three other prototypes, this one succeeds. 1) 100% paracord 2) Symmetrical and aesthetically pleasing 3) Successfully holds the darn laptop where it’s supposed to be! 4) Is easy to remove the laptop from and easy to put it back in
To make your own, check out these instructions.
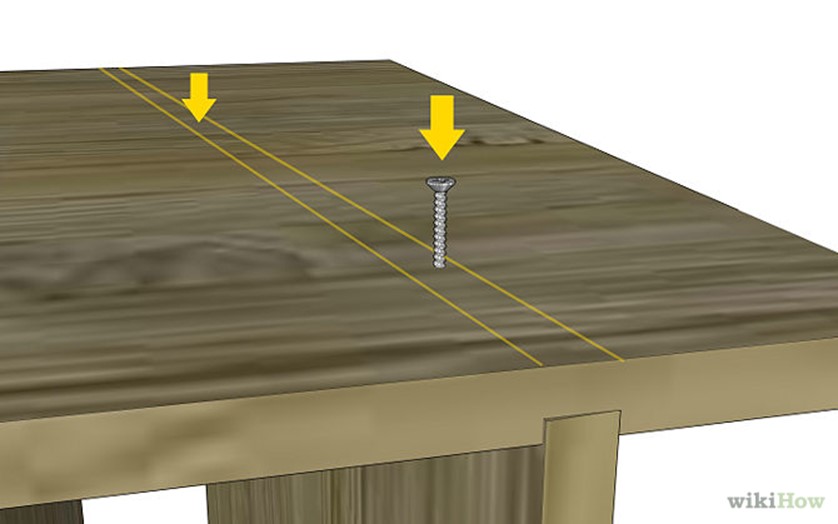
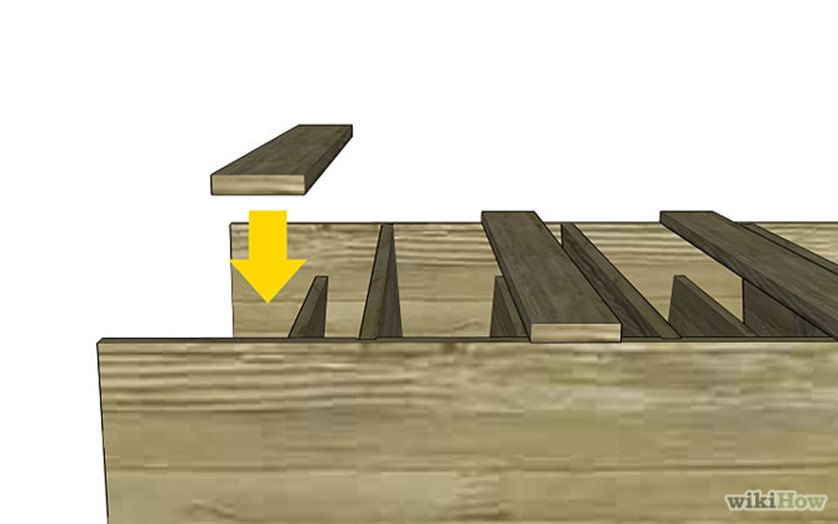
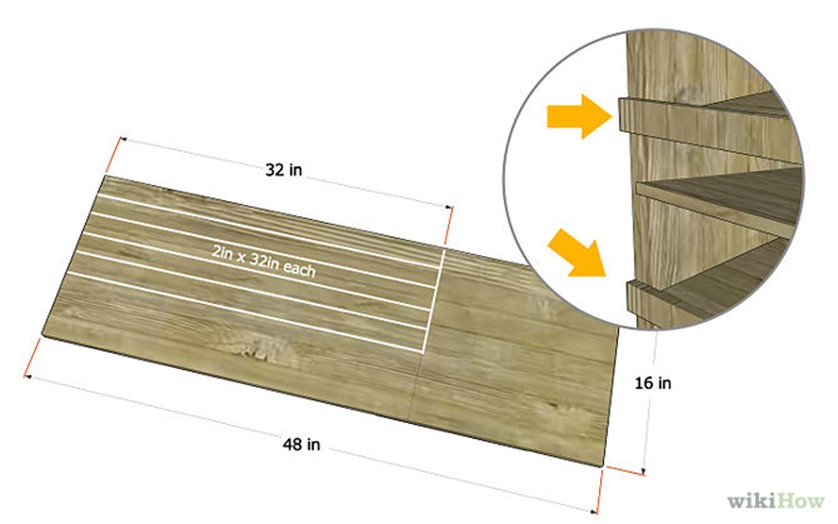
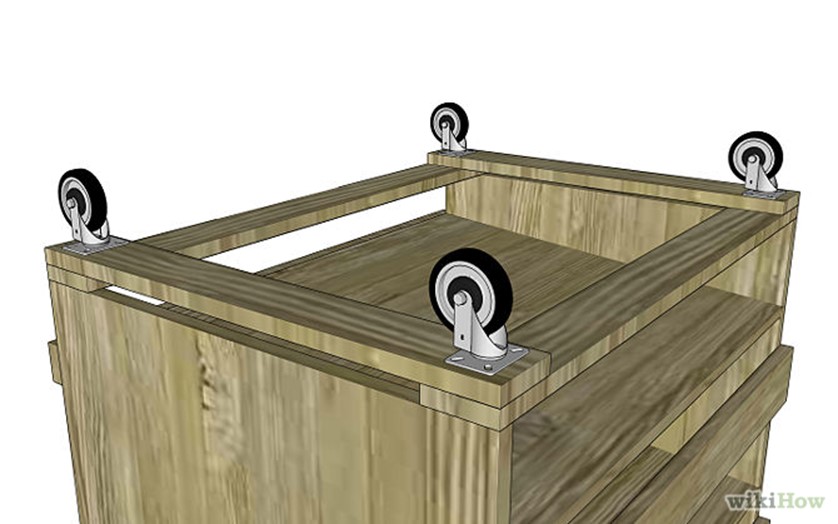
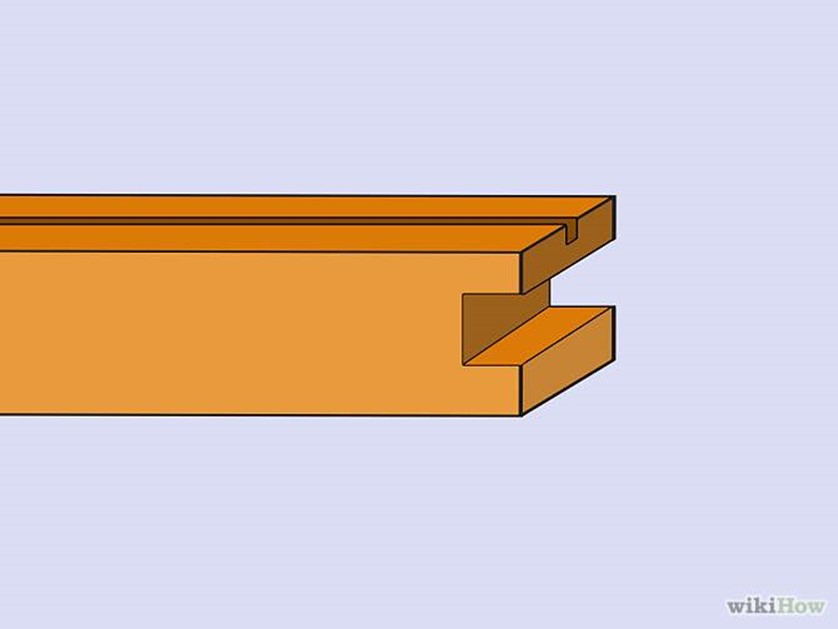
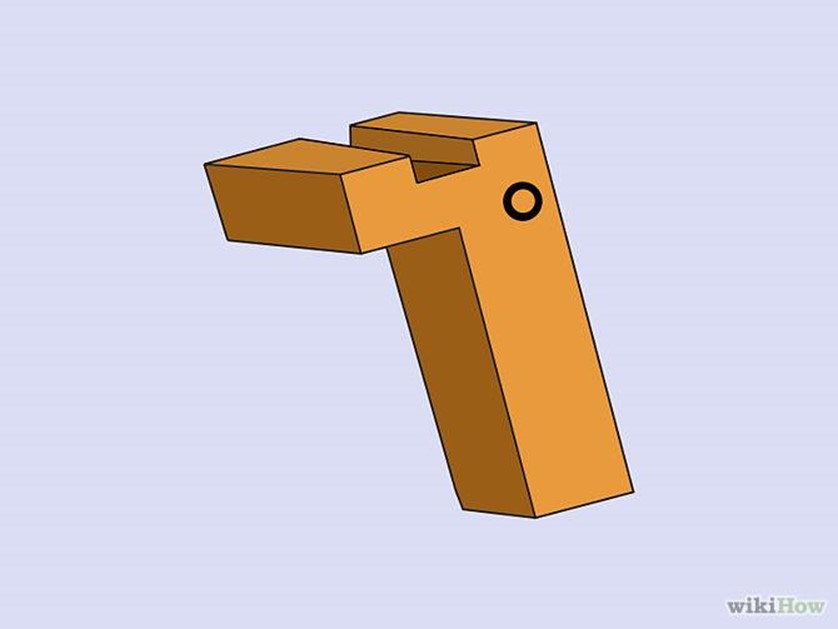
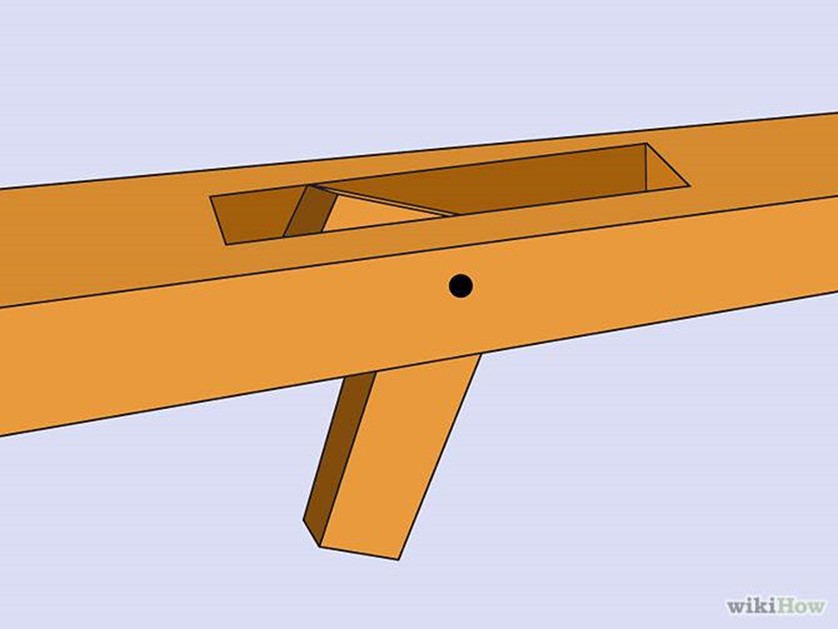
17. Paracord Chair
Another chair with a different layout. This version doesn’t have to be suspended and features a seat of paracord rather than wood. This project is really simple, as it involves two intersecting wooden rectangles that have a seat and back made from woven paracord. 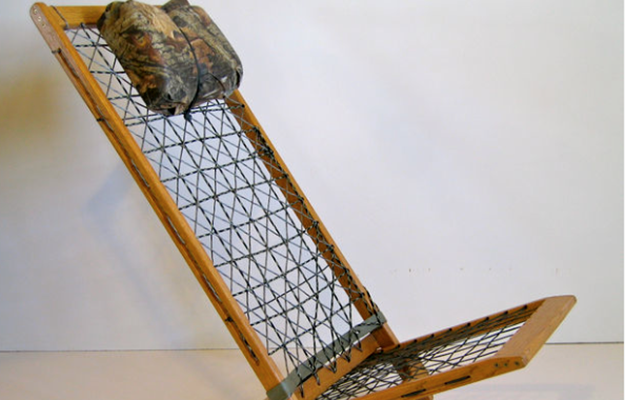
I’m going to assume that anyone attempting this project has basic woodworking skills and is familiar with power tools, so this won’t be a woodshop class. I will be presenting a flexible idea that can be modified rather than absolute plans… please feel free to experiment and play… but don’t get locked into a rigid perspective that there’s only one way to do it. :o) Want to build your own? Click here.
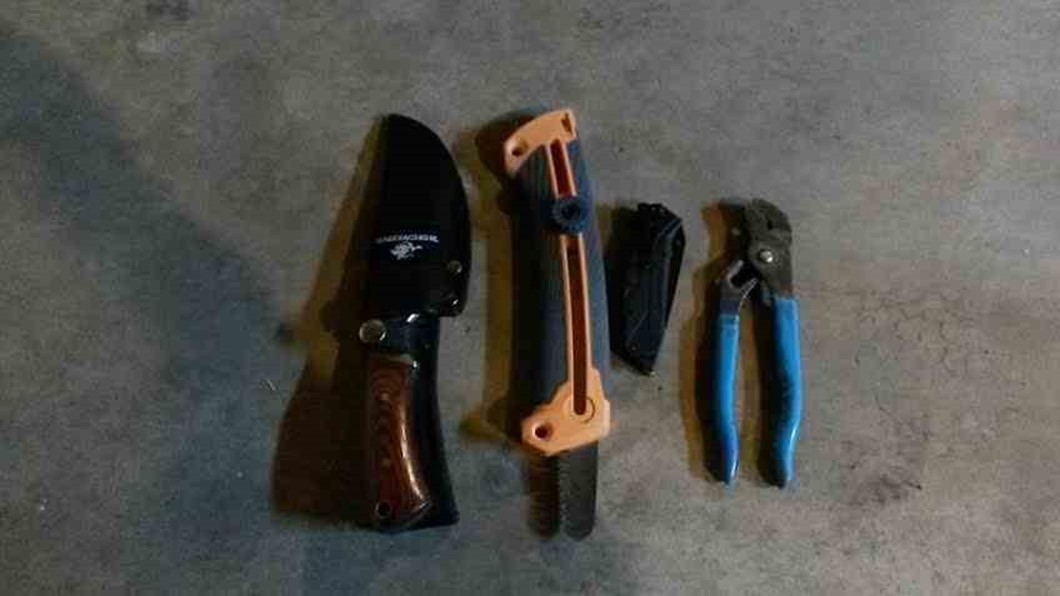
18. Paracord Leatherman Pouch
Keep your Leatherman safe and close using paracord to fashion a custom pouch. This instructable will show you how to weave a custom made pouch using paracord. The method used can be easily modified to fit a range of items from multi-tools and torches to mobile phones. It is very simple to make and doesnt use any fancy or difficult knots.
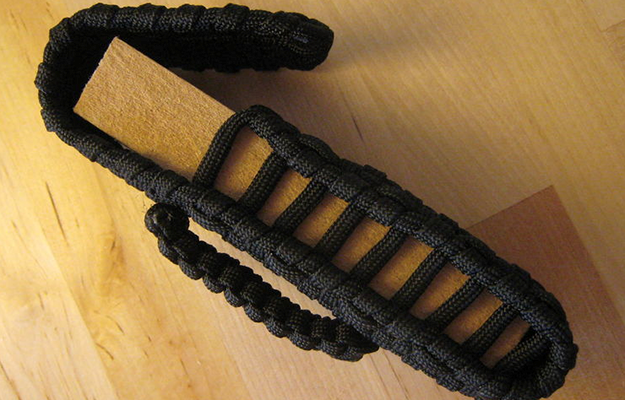
This patricular pouch used a total of 25 feet of 550 paracord however if you are making a pouch for something larger then obvooisly you would need a little more. When making anything its always best to start with the best materials you can find which is why i always recommend using genuine military spec 550 paracord. The better the cord the longer your pouch will last. Find the full DIY here.
19. Paracord Dog Collar
This durable collar will stand up to almost anything and add some personality to your best friend! Right now, our favorite one is this DIY paracord dog collar. It’s the ultimate dog collar made with about 40ft of 550 paracord. This paracord dog collar is your best bet if you are looking for a stylish collar that is also super strong and durable.
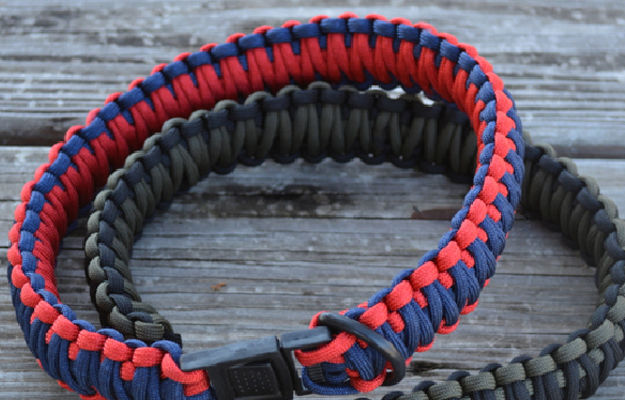
If you’ve been following our paracord projects, then you know the Cobra weave is one of the more popular weaves. For this paracord dog collar, we are going to take it one step further and do a King Cobra weave! This weave is super strong and even adds a thickness and padding to the original cobra weave, making the collar more comfortable for pooches of all sizes. Find the full DIY here.
20. Paracord Double Monkey Fist Bookmark
This multi-functioning project can help you stay safe and up on your reading. This snazzy bookmark will have all your friends saying ‘cool’! I like playing with knots and stuff, so when I saw a picture of this somewhere on the internet, I decided it would be a cool project to do. 
It was a bit of a challenge, but it isn’t too difficult, and has a definite cool factor. Find the instructions here.
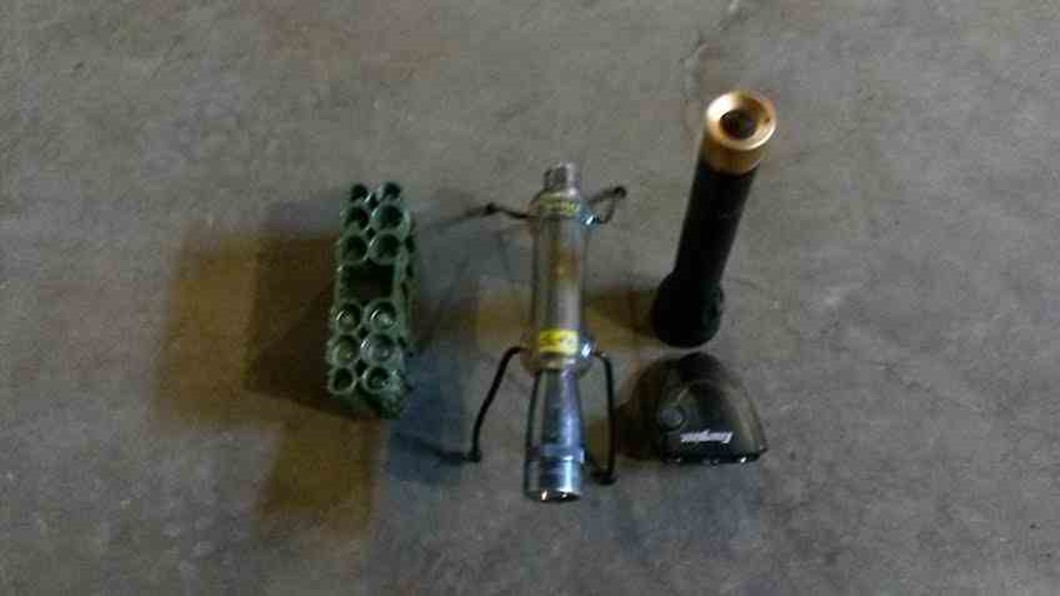
21. Paracord Bottle Net
Keep your water bottle strapped to you with this easy DIY. Great for hiking, biking, or any outdoor activity! I’ll be showing you how I made a fitted net to carry a nalgene bottle or other jar/bottle/item.
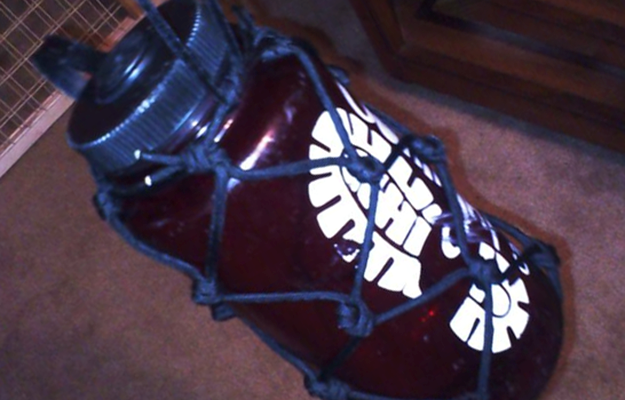
Using the lid loop on the canteen works, but I have had several break after a while, and then I am doomed to loose the lid. The net gives you multiple attachment options and offers some protection against rubbing. Make your own with these instructions.
22. Paracord iPhone Case
These instructions will help you make a case to protect your precious technology. Create this simple case with a few knots to keep the paracord wrapped tight and your phone secure and in place.
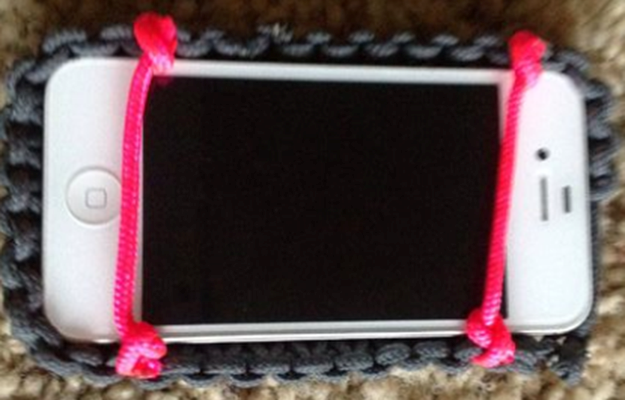
Use different colors to alter the look and create a case that’s custom to you! Full DIY here.
23. Paracord Bow Sling
Keep your bow close by and hands free with these instructions. 
Make your own with these instructions.
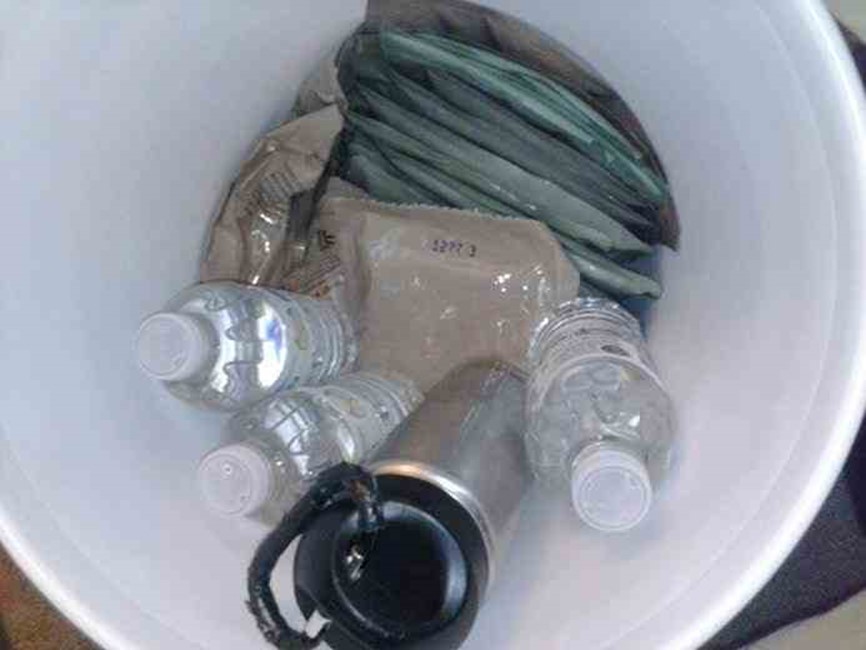
24. Paracord Hammock in a Nalgene
Whether you want to use it for the backyard or for hammock camping, this DIY will help you create an extremely durable hammock. This is a hammock that can be used a food net (to keep bears away from food), fishing net, shelter, and of course a hammock. 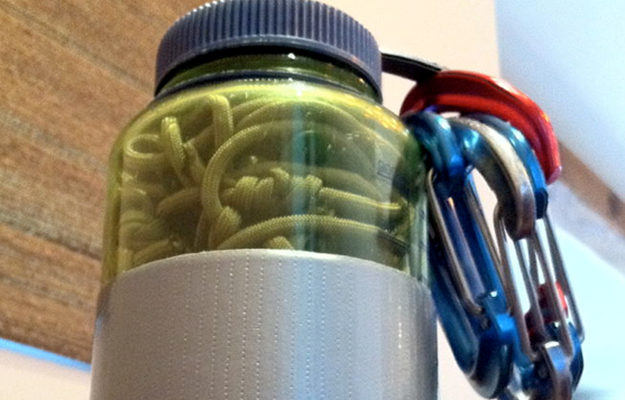
Check out the instructions!
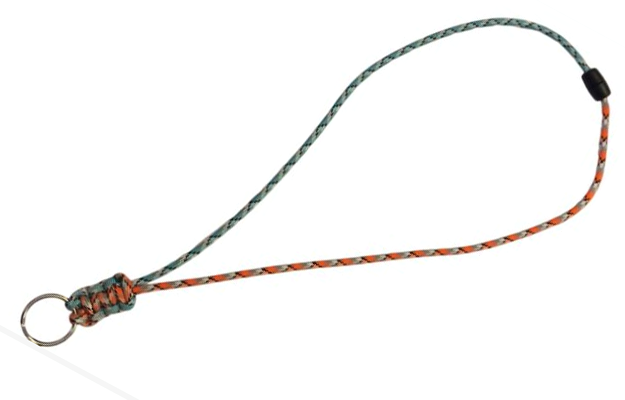
25. Paracord Lanyard
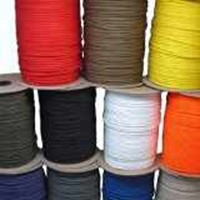
Lanyards are a great functional way of keeping your keys, now made even better with paracord! Make a Paracord Lanyard to hold your ID badge. A lanyard made of paracord will last a long time, and is very durable. You can pick from hundreds of colors of paracord. You can also add a Tracer, which is a piece of micro paracord braided in.
Full instructions.
26. Paracord Eyeglass Lanyard
This DIY is perfect for anyone who enjoys being on the water. Whether fishing or floating, use paracord to keep your glasses or shades in place. This Instructable describes a method of making a paracord lanyard to help keep your glasses on, or near, your head. Based on your adjustment of the cord, the glasses can either dangle on your chest, or be held snugly to the face. 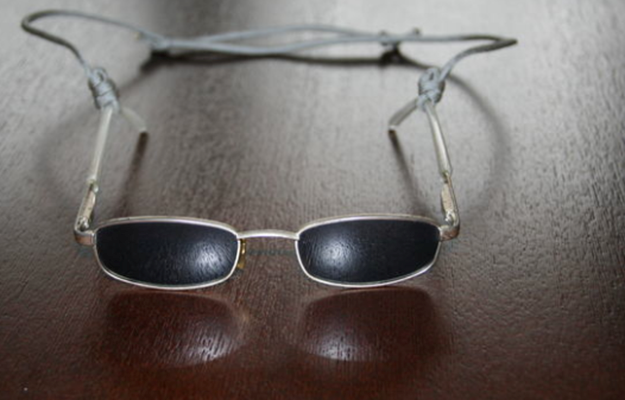
This method uses only paracord; some alternative approaches that incorporate additional materials are shown at the end. Full instructions.
27. Paracord Water Jug Harness
This simple rig can be customized to different sized jugs, a very convenient tool to have around when carrying water. 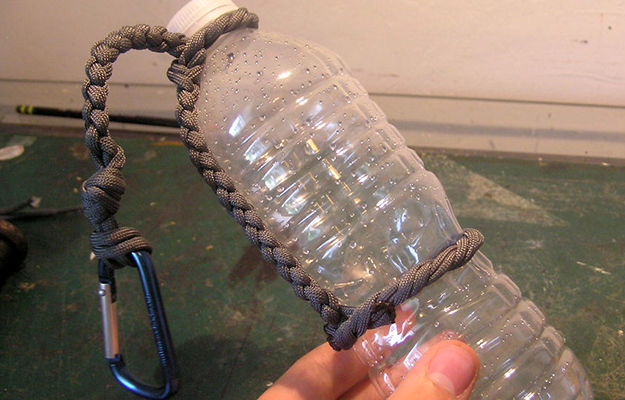
Follow these instructions to make your own!
28. Paracord Army Man
Keep kids entertained with this toy completely made of paracord. 
Get the instructions here.
29. Paracord iPhone Cable
Everyone gets annoyed when their phone cable breaks. Up the durability with this project! 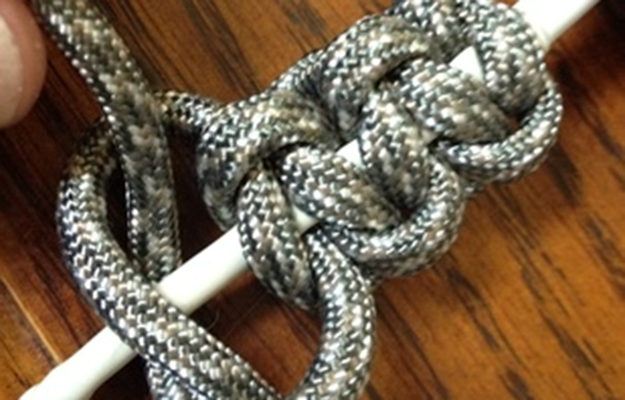
Full instructions here.
30. Paracord Self Defense Key Fob
On top of being a keychain, this project features a monkey fist addition to keep yourself defense ready. 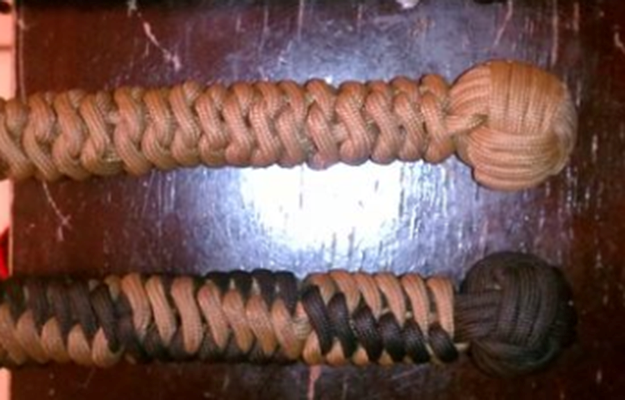
Instructions here.
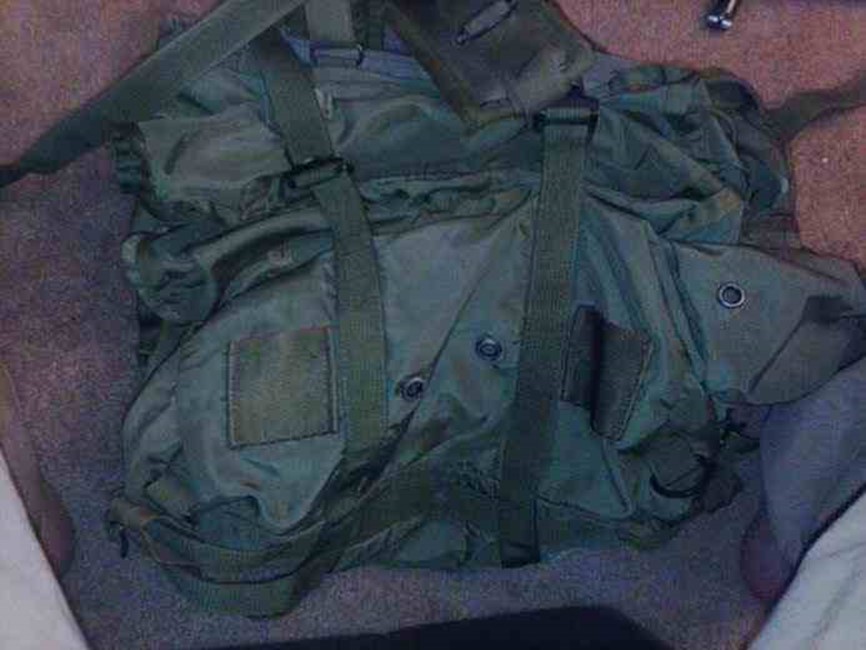
31. Paracord Drawstring Bag
This DIY will help you create a versatile and durable bag. Adjust the DIY for different sizes! 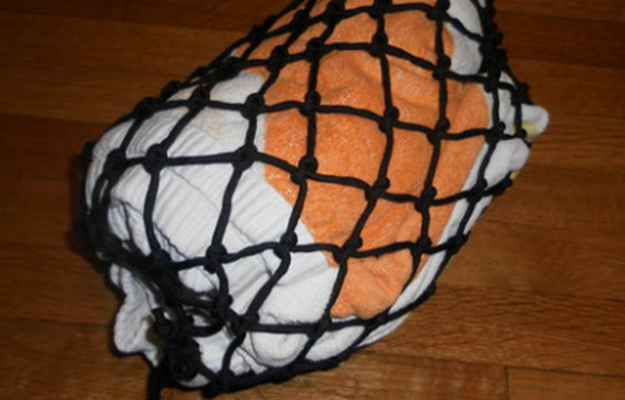
Since I was going for a simple design, I used overhand knots for 99% of this design; since it’s so simple, I’m sure others have ended up doing this at some point or another. Note: This can be used as a general idea on making more drawstring pouches/sacks using different knots. Check out the full DIY.
32. Paracord Multi-Tool Pouch
Every good prepper knows how important a multi-tool can be. So why not make it it’s own paracord pouch.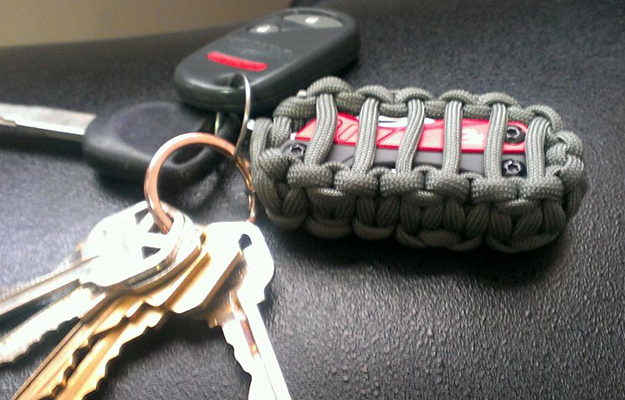
Make your own with these instructions.
33. Paracord Backpack Strap Wrap
Up the durability of normal pack straps by this addition of a paracord wrap. The Paracord Strap Wrap is a simple way of tidying up loose ends on your gear using various lengths of paracord. Using paracord instead of things like cable ties has its obvious advantages to any paracord fanatic. 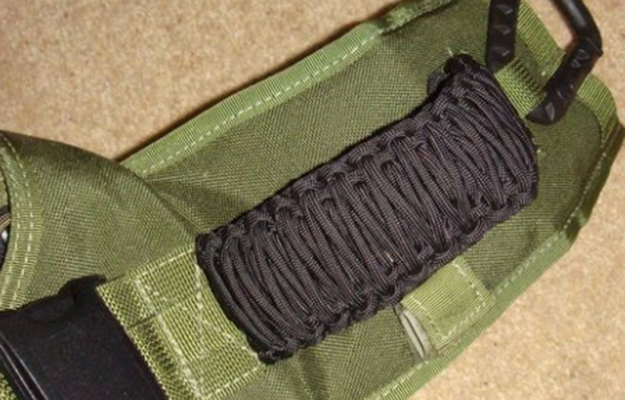
Depending on the amount of the strap you want to cover and the thickness you want to make it you can use anywhere between 2 or 3 meters up to 15. Full instructions.
34. Paracord Bandoiler
Keep your ammo neat and orderly with this easy DIY.
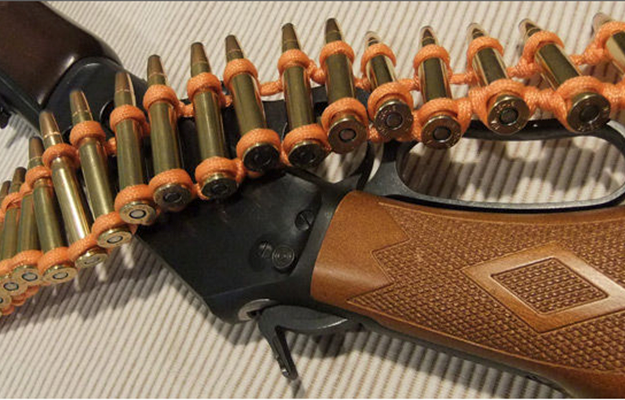
Under certain circumstances I like to bring a rifle and ammo with me when I go into the wilderness. And of course it’s always a good idea to bring a length of paracord too. Both items fall into the “could come in handy” category of gear. In the endless persuit to lighten my pack and reduce bulk I’ve combined the two. Rather than just carrying around paracord on the off chance I might need it here’s a way to give it a full time job; holding your ammunition. It allows you to leave the ammo boxes at home and is a step up from just having loose rounds scattered about your pack.
Full instructions.
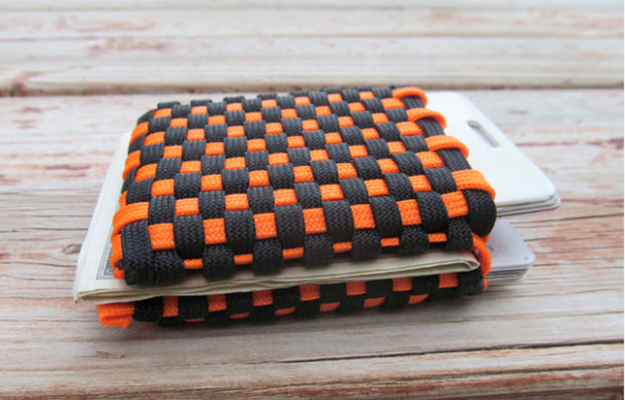
35. Paracord Wallet
Aside from looking pretty cool, this super durable wallet will last a lot longer than traditional wallets. This wallet is made from approximately 28′ of gutted paracord.
Full insructions.
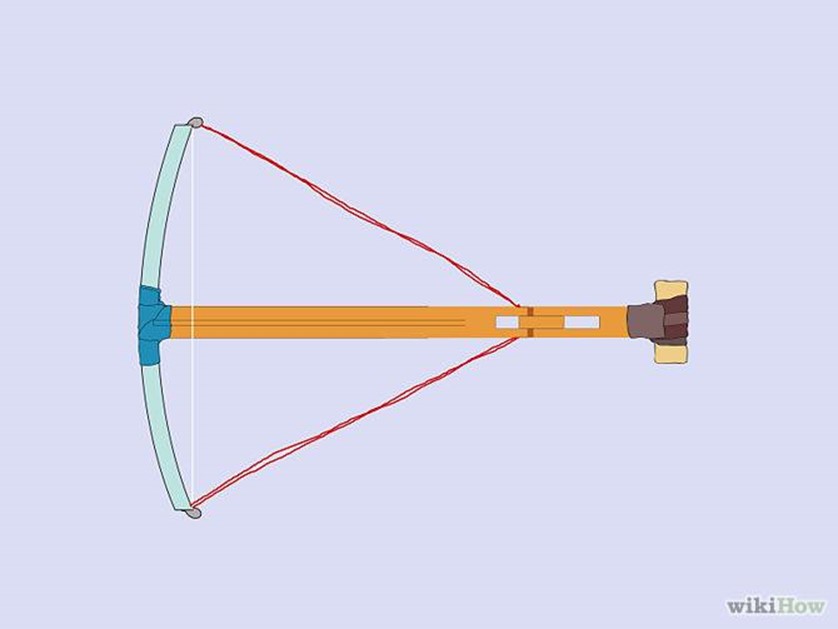
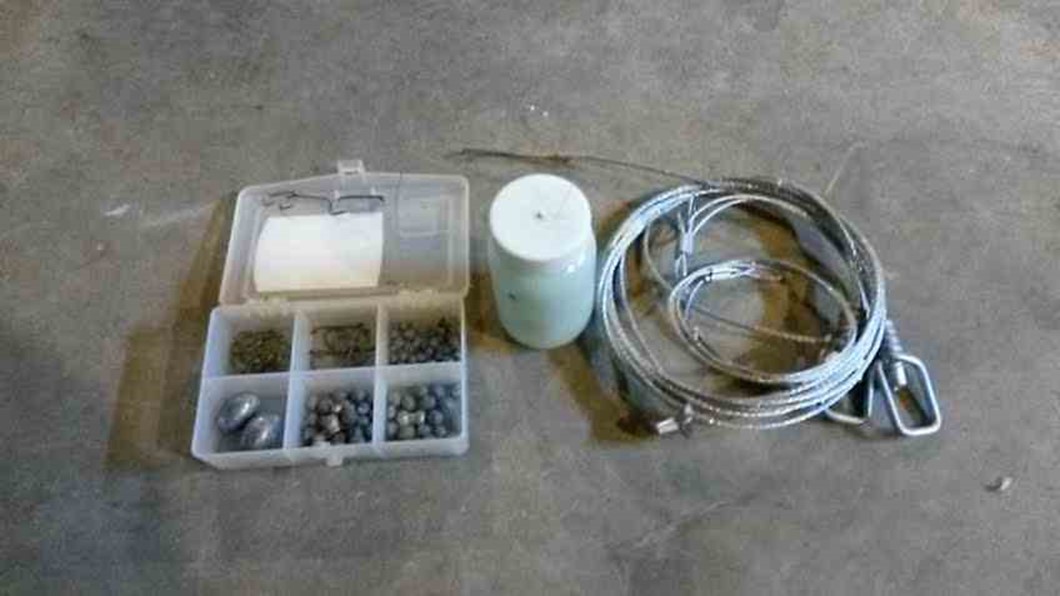
36. Paracord Rock Sling
This DIY will give you a back up weapon that doesn’t need bullets or arrows to be useful. You’ll never run out of ammo with this paracord slingshot.
The sling is one of the easiest ranged weapons you can make. Because of that, it is popular with survivalists and anyone who likes to improvise. It is a weapon made out of a piece of string or a cord. It has been used since ancient times for hunting and more prominently, in warfare. The sling was popularized as a cheap, easy to make weapon with range greater than that of a bow. Due to it low cost it is considered a weapon of the poor. Instructions here.
Ready to make some of these cool paracord projects?
Here are our top picks for supplies:
Paracord:
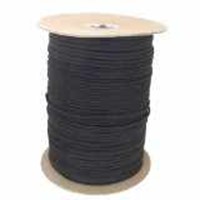
1000′ 550 7 Strand Spool Paracord

ParacordPlanet 1000′ Spool of Type III 550 Paracord – Black

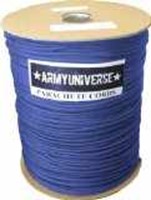
Royal Blue Parachute Cord 550lb Nylon USA Paracord Spool 1000′

Tools:
Perma Lok Super Jumbo Lacing Needle For 1/8″, 5/32″ Or 1/4″ Lace
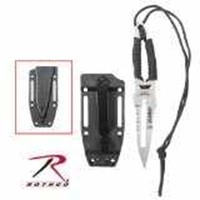
5″ Paracord Knife

Accessories:
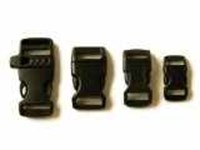
40 – 5/8″ (Whistle), 5/8″, 1/2″, & 3/8″ Black Side Release Buckles (10 Each) For Paracord Bracelets

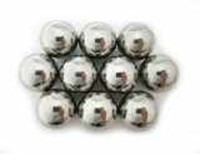
Avler™ 1″ (25.4mm) Chrome Steel Bearing Balls for Paracord Monkey Fist Center (Pack of 10)

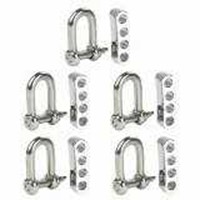
Cosmos ® 5 Set Silver Color Stainless Steel D Shackle + 4 Holes Adjuster for Survival Bracelets with Cosmos Fastening Strap

Jigs:
Multi-Monkey Fist Pro Plus Paracord Jig with Rotating Head Makes Monkey Fist From 5/8″ – 2 1/4″


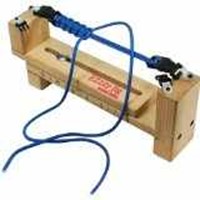
Pepperell NOM054449 Parachute Cord Ezzy-Jig Bracelet Maker

Books:
Paracord 101: A Beginner’s Guide to Paracord Bracelets and Projects


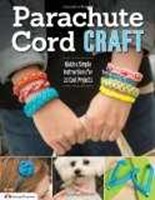
Parachute Cord Craft: Quick and Simple Instructions for 22 Cool Projects (Design Originals)

Start now to make sure you are staying prepared.
Via: survivallife


 Follow
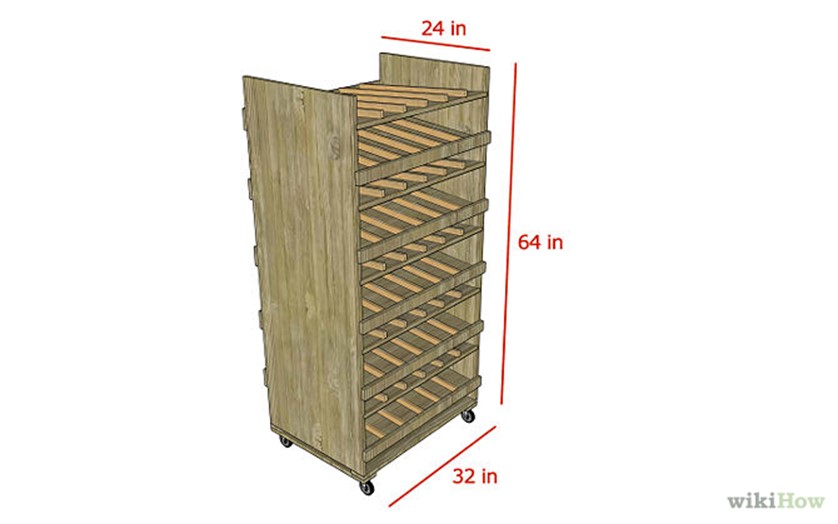


